Craft something memorable and fun for your favorite little hobbitses! Make a quick Hobbit door from polymer clay – the perfect gift idea for any Tolkien fan!
This post may contain affiliate links. I may earn a small commission through these links with no extra cost to you.
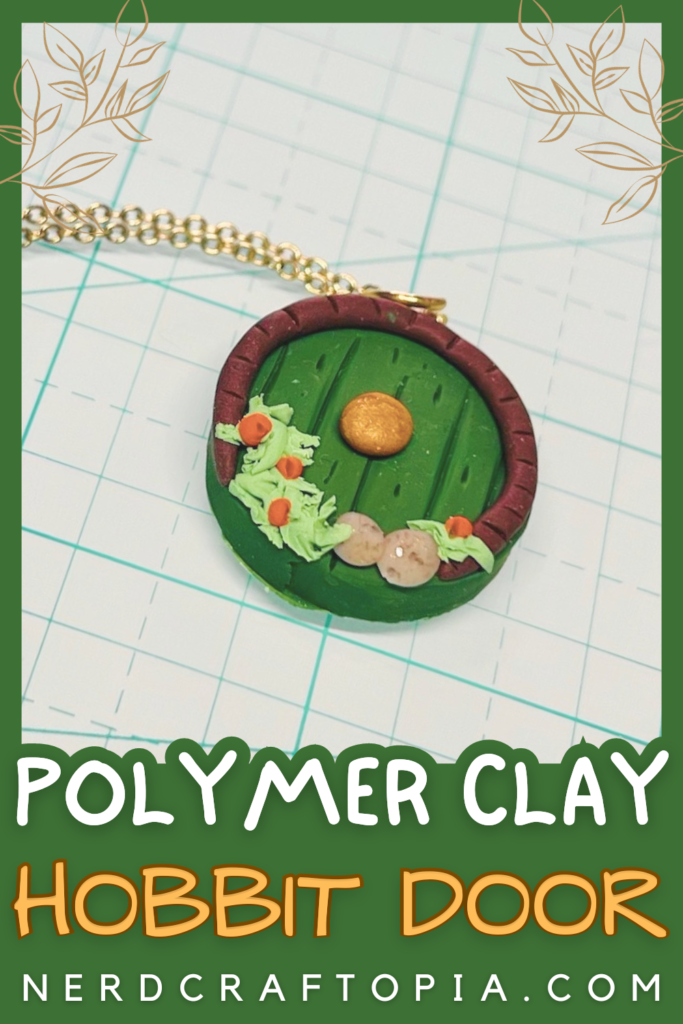
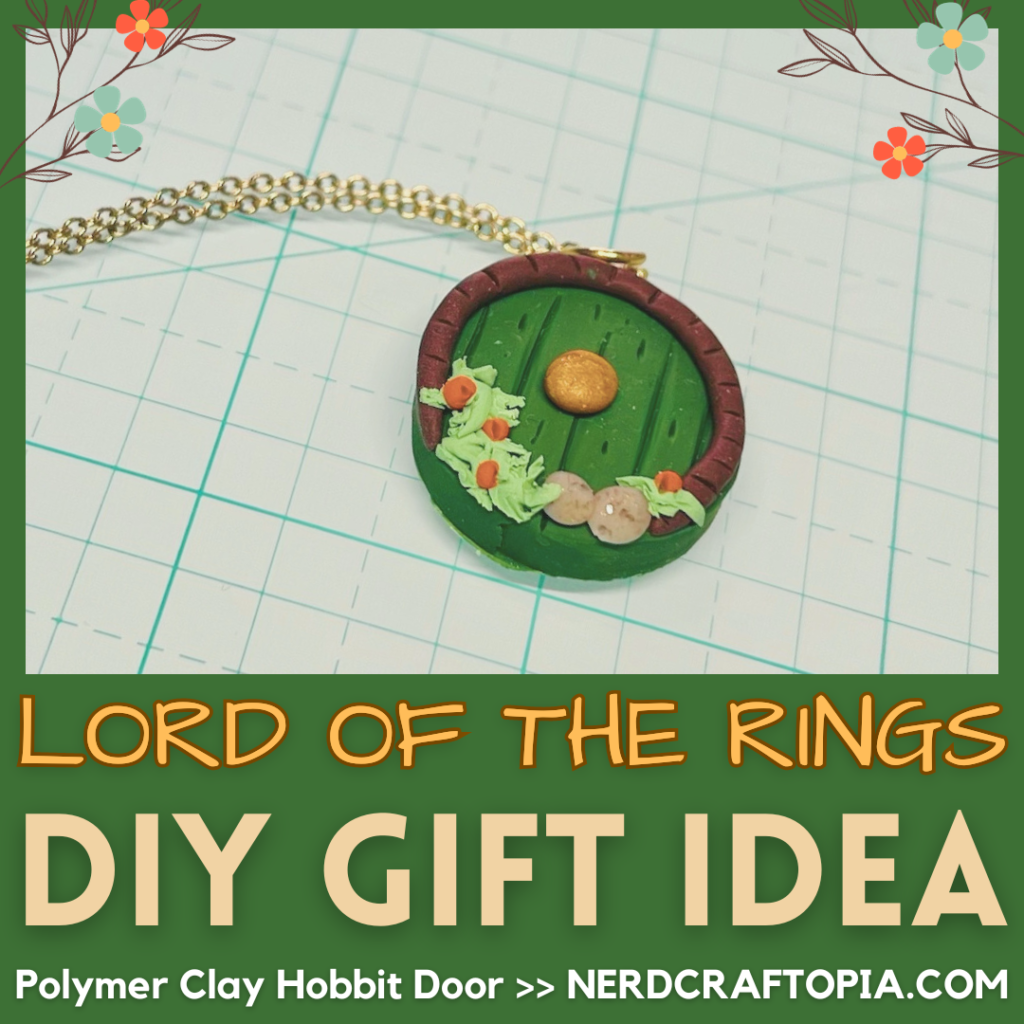
If you’ve always wanted to live in the Shire… this may be the perfect Hobbit craft for you! This adorable polymer clay pendant is super easy for beginners to make, and makes a fantastic gift idea for geeks or nerds. Fans of Tolkien, The Hobbit movies, and Lord of the Rings movies will easily recognize this sweet Hobbit house entryway.
You can customize these easy Hobbit doors with your favorite colors, details, and accessories. I turned my finished lord of the rings craft into a necklace, but you can make yours into anything you want! Glue a magnet to the back, attach to a keyring, or even shrink them down into a cute pair of polymer clay earrings.
Supply List
You’ll just need a few basic materials to get started creating your own Hobbit craft project. For this easy project, I used basic tools that anyone would have. But, if you have polymer clay hobby tools, you can definitely use those instead.
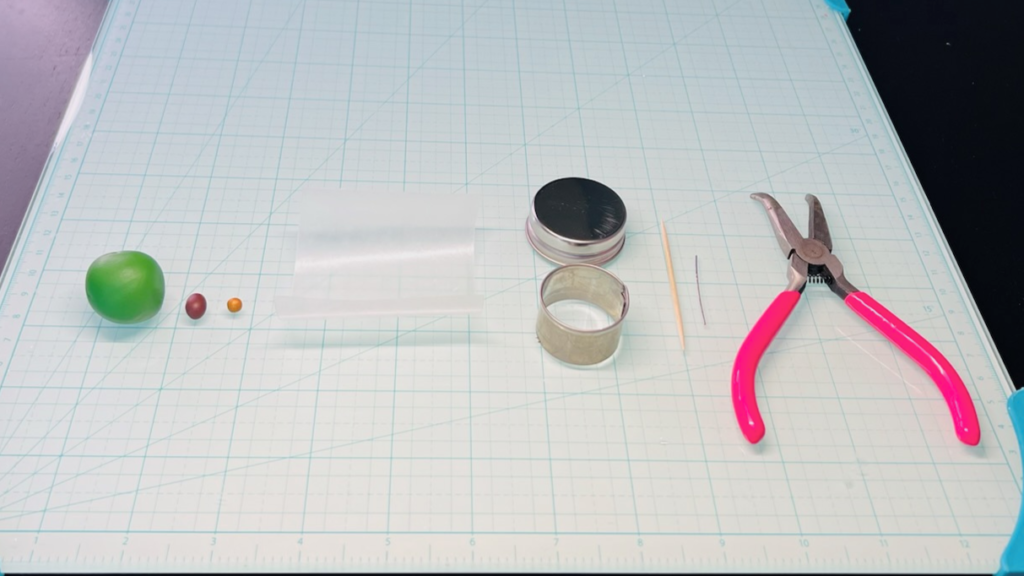
Here’s What You’ll Need:
- Green Polymer Clay
- Gold Polymer Clay
- Brown Polymer Clay
- Tooth Pick or Clay Needle Tool
- Round Cookie Cutter
- Wax Paper (Optional)
- Clay Roller, Flattening Tool or Clay Conditioner – (ANYTHING flat – I use a smooth lid to a jar in my tutorial)
- Jewelry Pliers
- Wire or Eye Pin
- Baking Sheet
*NOTE: If you do not have a round cookie cutter, you can use a smooth, circular object like a shot glass, jar lid or bottle cap.
PRO TIP: If you have cats like me, use a lint roller to ensure your workspace is lint free 😄 You’ll thank me later!
How To Make This Cute Hobbit Gift Idea:
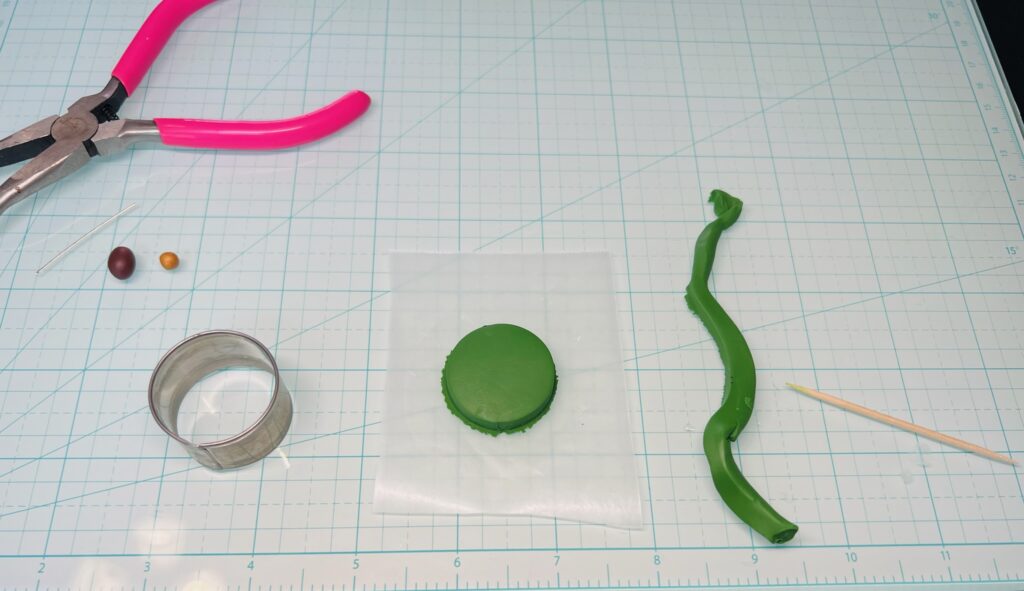
Lay out your piece of wax paper to work on, this will help you shift the piece you’re working on without leaving fingerprints or damaging the piece. It will also be easier to transfer to the oven for baking.
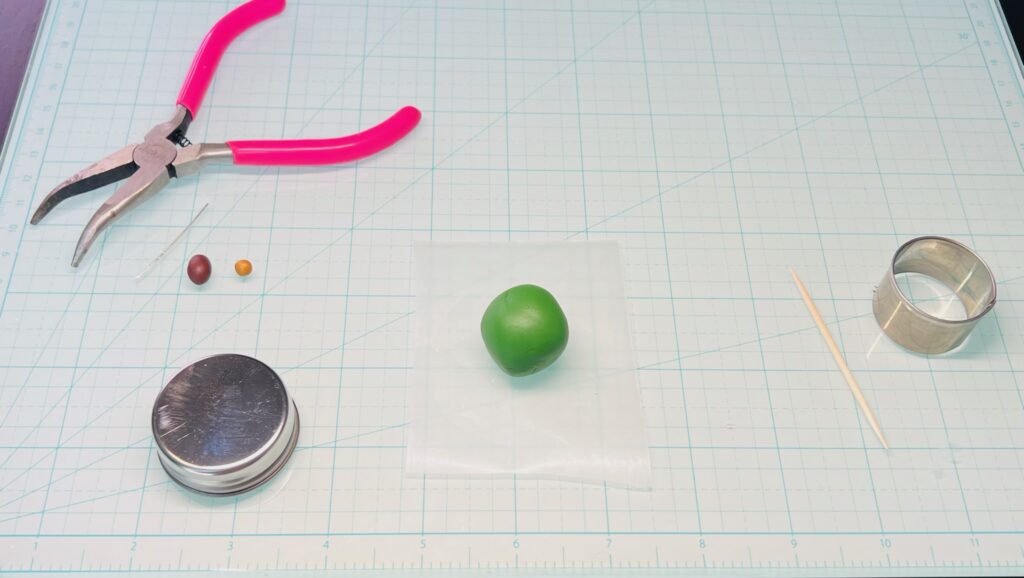
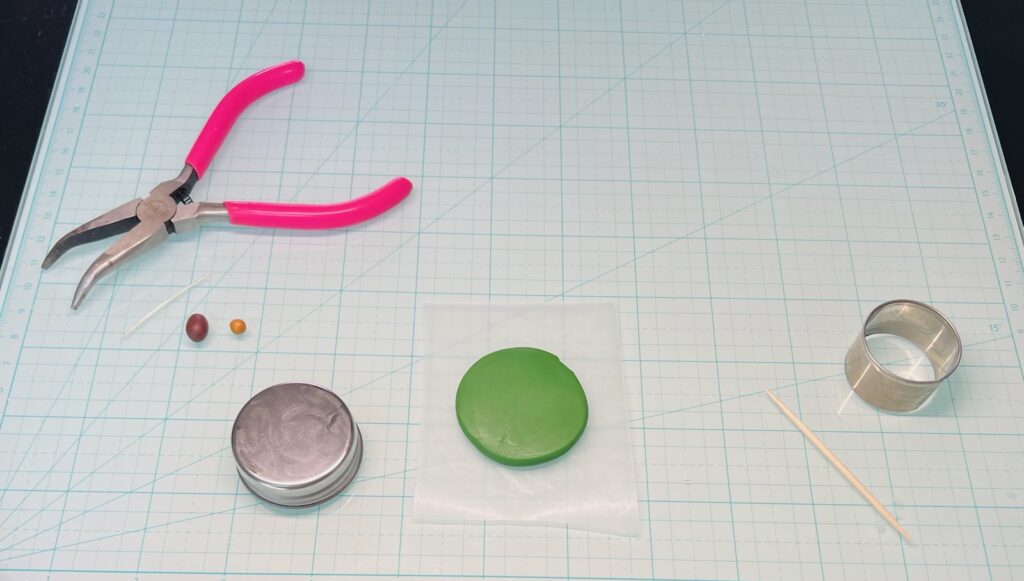
Place your green ball of clay onto the wax paper, and flatten it to your desired thickness. If you have a clay conditioner, this will help get an even thickness. If not, using anything with a flat surface will work! Just do a quick check that it’s lint-free. You can even use your thumb or palm to flatten it if you have nothing else to work with.

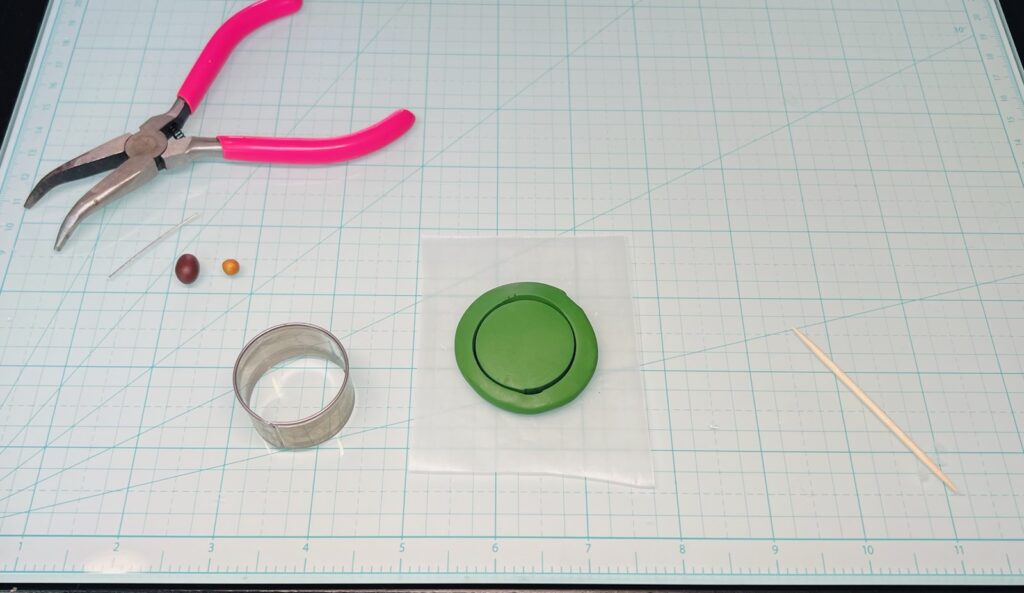
Take a round cookie cutter and press gently into your clay. I try not to push all the way down so the clay inside the cutter does not get stuck inside of the cutter when removing it. (Pressing with cornstarch works great too!)
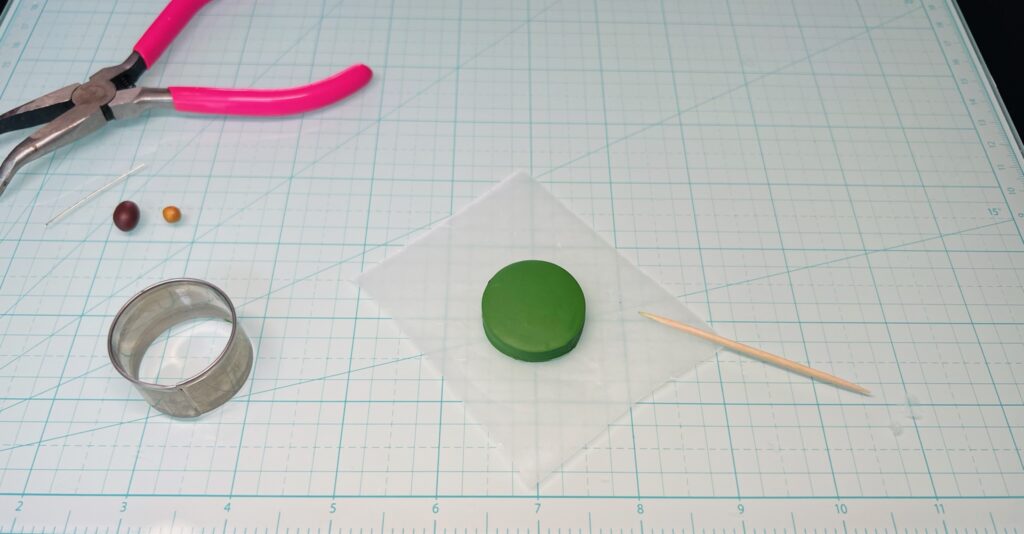
If you have excess scraps stuck to your round shape, don’t sweat it! Trace around the circle using your toothpick and use the toothpick to gently remove any excess. Smooth edges with your fingers as needed.
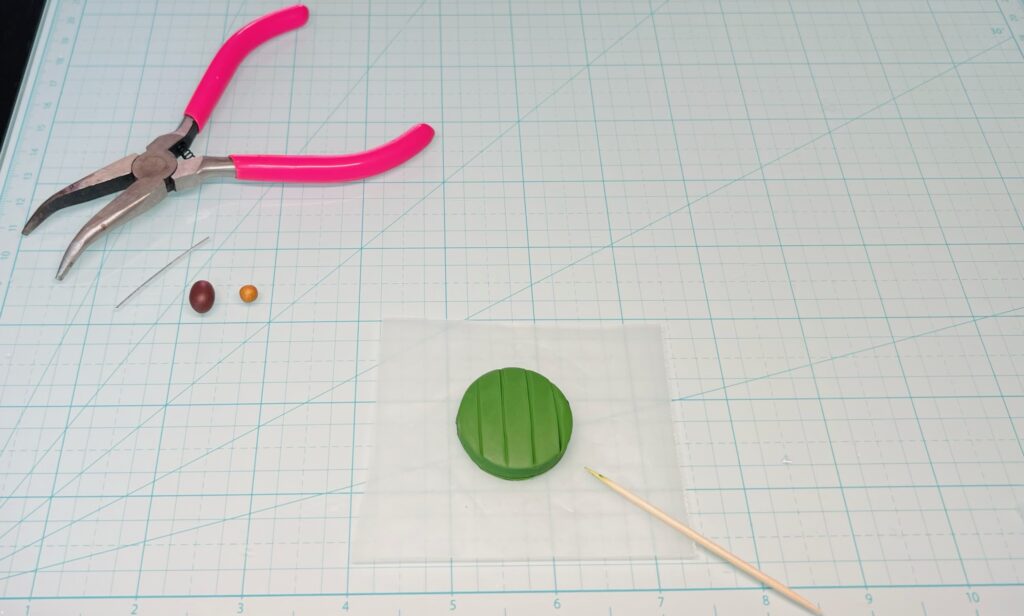
Now, using your toothpick, trace straight lines down your circle to make the look of wood planks.
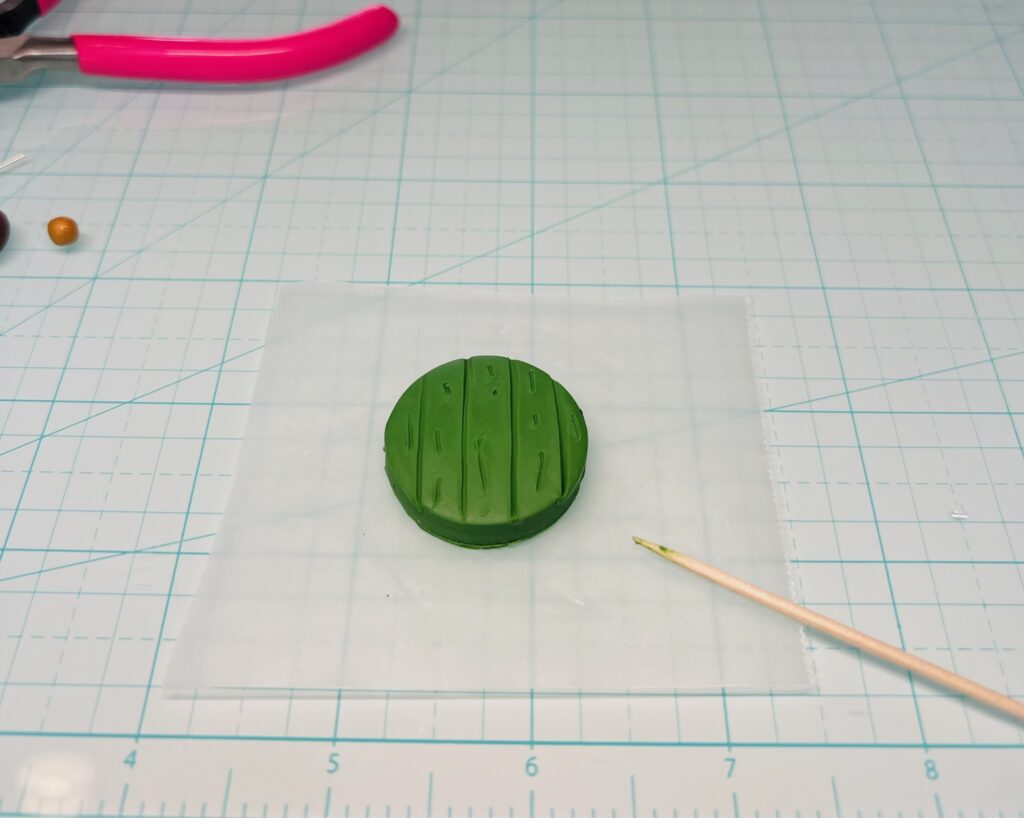
Add more fine wood lines as shown above if you’d like a more realistic-looking door.
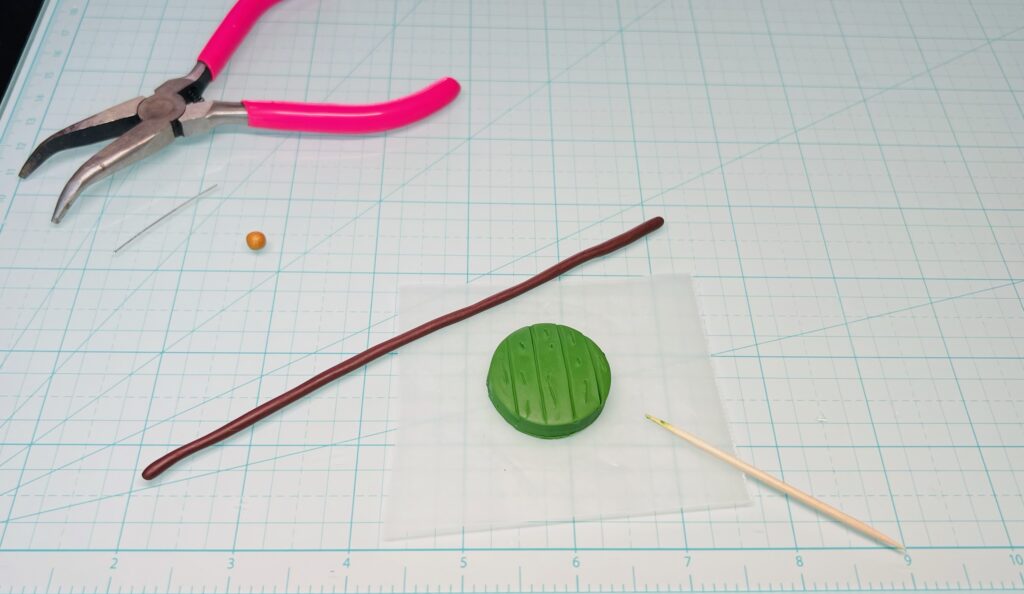
Now, roll out the brown clay in your hands, or on your work surface, until it’s pretty evenly thin. It’s okay if you have a lot to work with, it’s better to have more than not enough.
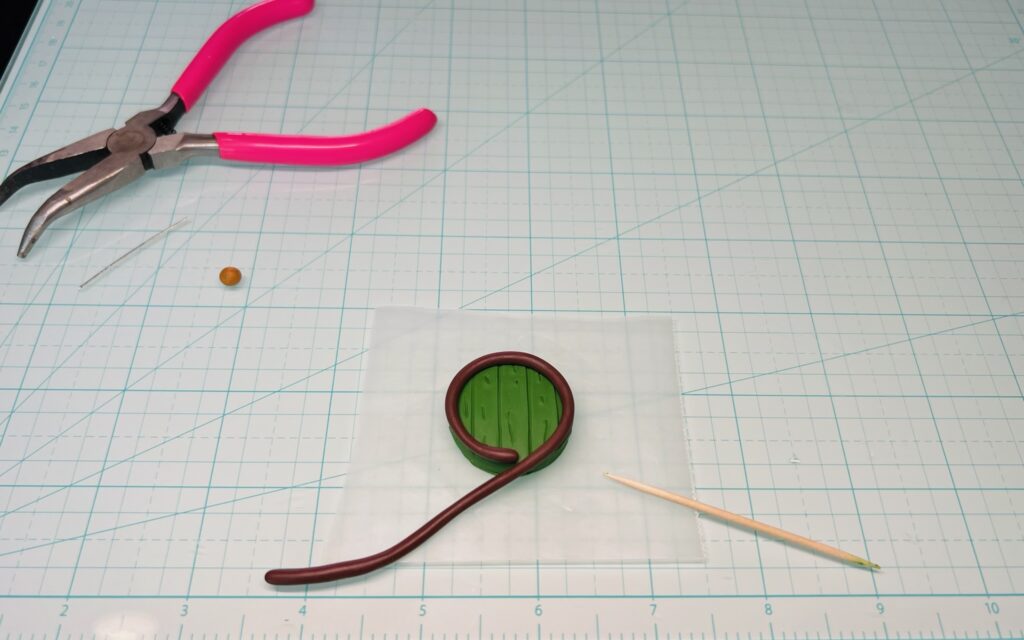
Starting with one end of the thin brown clay, begin to form a circle shape on the outer edge of your door. Trim the excess with scissors or your toothpick. Once shaped to your door, gently press down the outer circle so it is attached to your door.
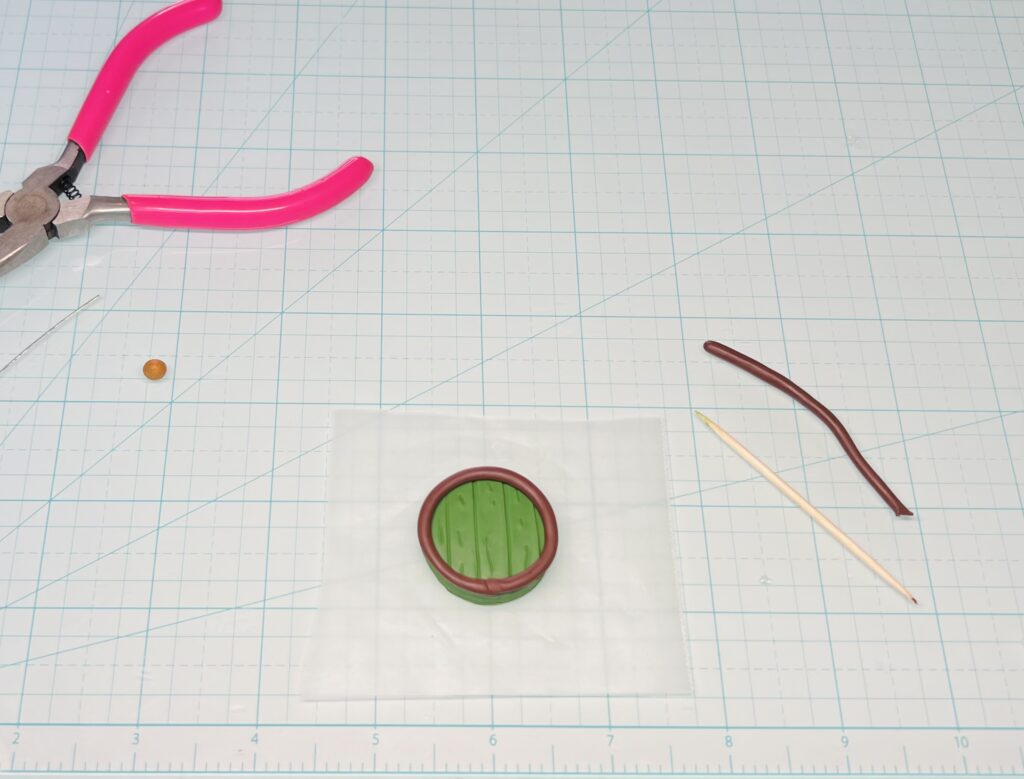
For the next step, indent your toothpick onto the top of the brown outer circle of clay to make the appearance of bricks, or blocks as shown above.
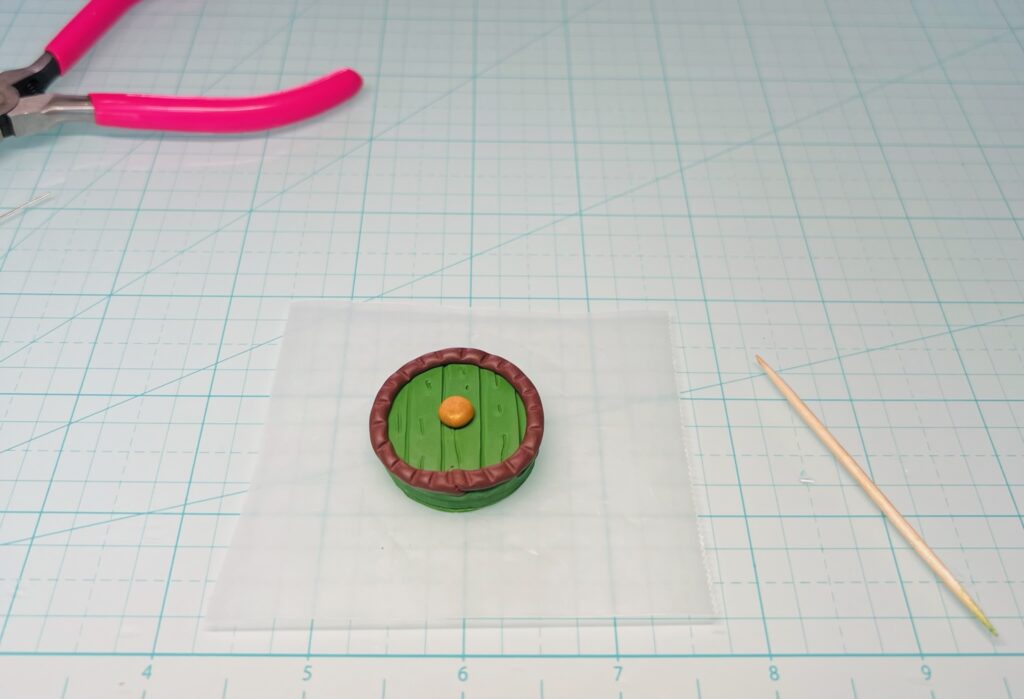
Now, take a small bit of gold clay and roll it into a ball in your fingers. Place it onto the center of the door and give it a little push-down to secure it.
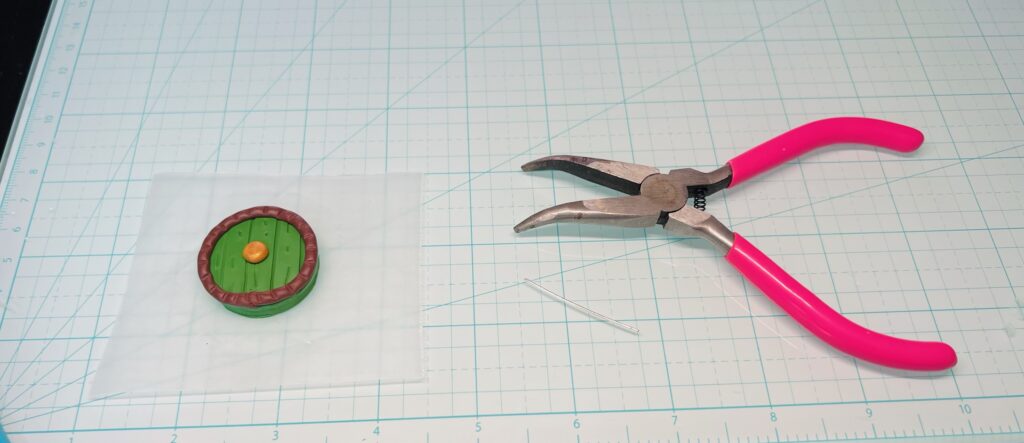
Now we have a door! Excellent work! If you have an eye pin you can slide it in now and secure it. Or, if you only have a bit of wire on hand – you can use jewelry pliers to roll one side of the wire into a loop.
**Make your loop big enough for any chain or leather you’d like to slip through if you intend to use it as a necklace, or keychain. OR, have a big enough jump ring on hand to assist you in assembly.

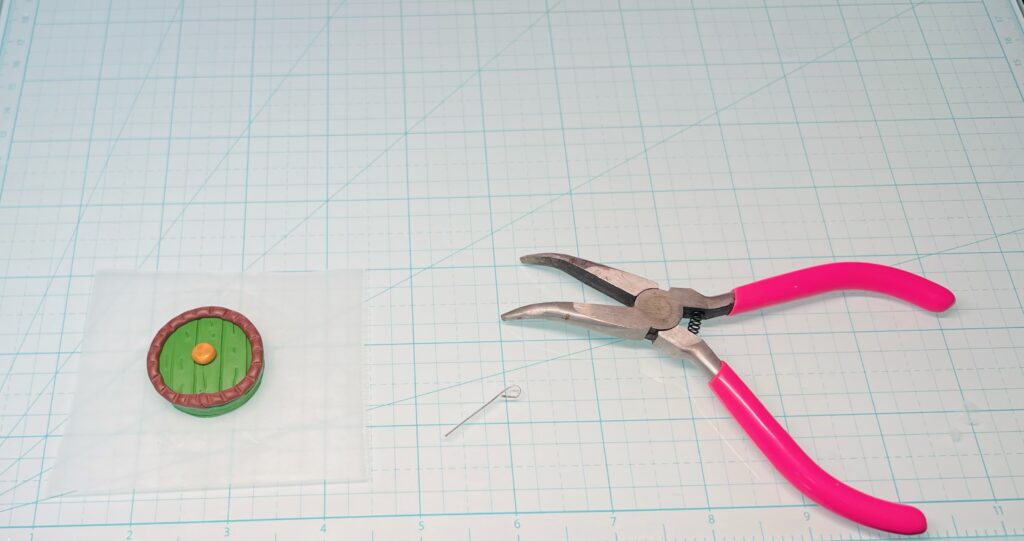
Use the same jewelry pliers to bend the opposite end at a 90-degree angle so that once placed in the clay it will not be able to be pulled out.
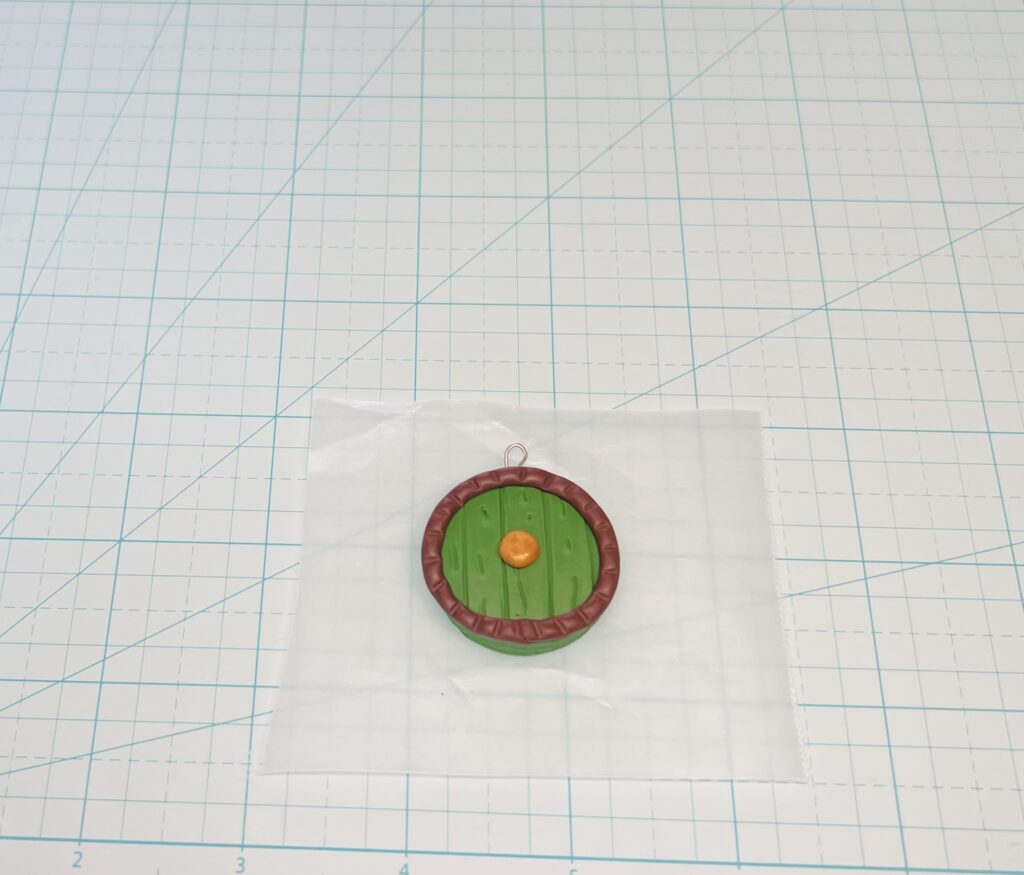
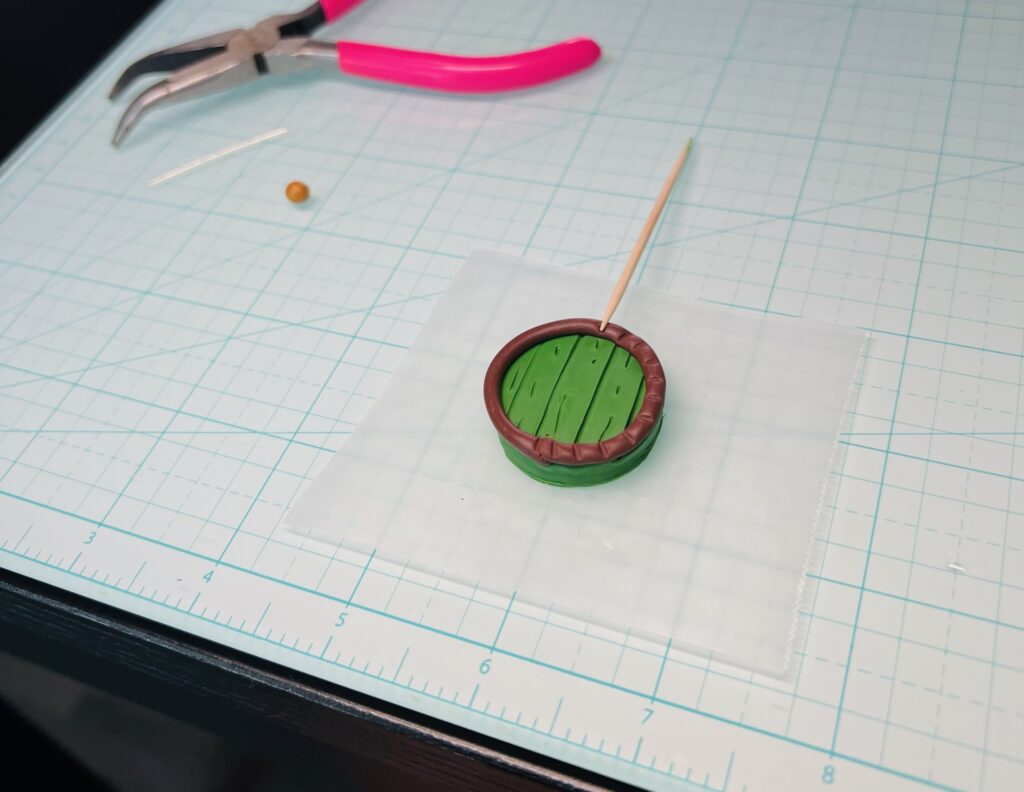
Insert your wire eye pin into the top of the door. Bake as directed on your clay packaging.
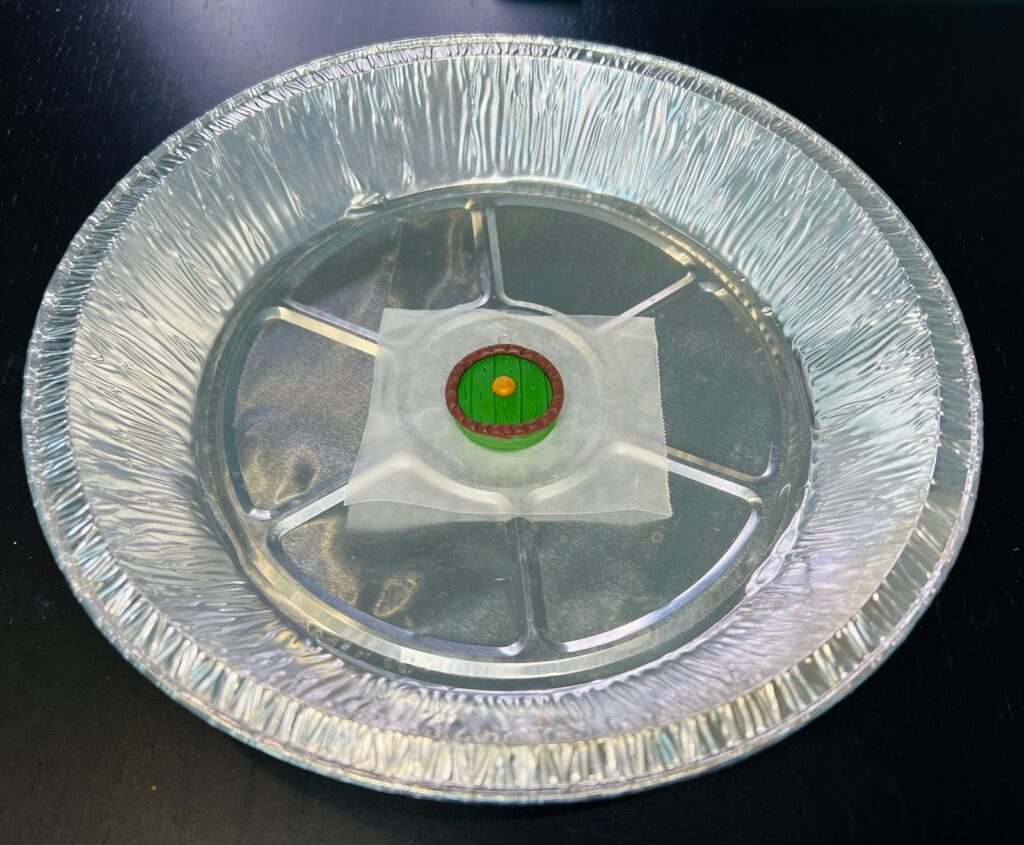
I used Sculpey III, so it recommended I bake at 275 degrees for 15 mins for every ¼” of thickness. My piece was barely over ¼” so I baked at 275 for 20 mins.
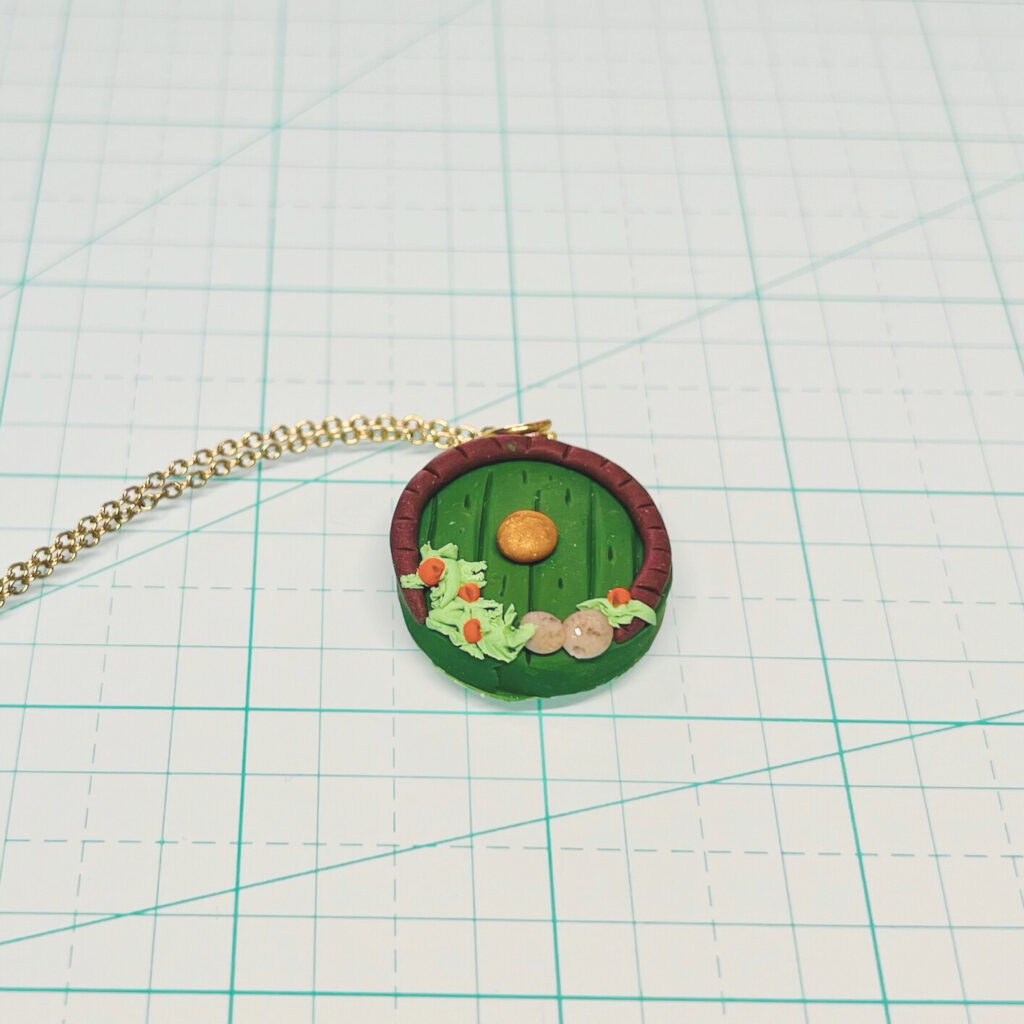
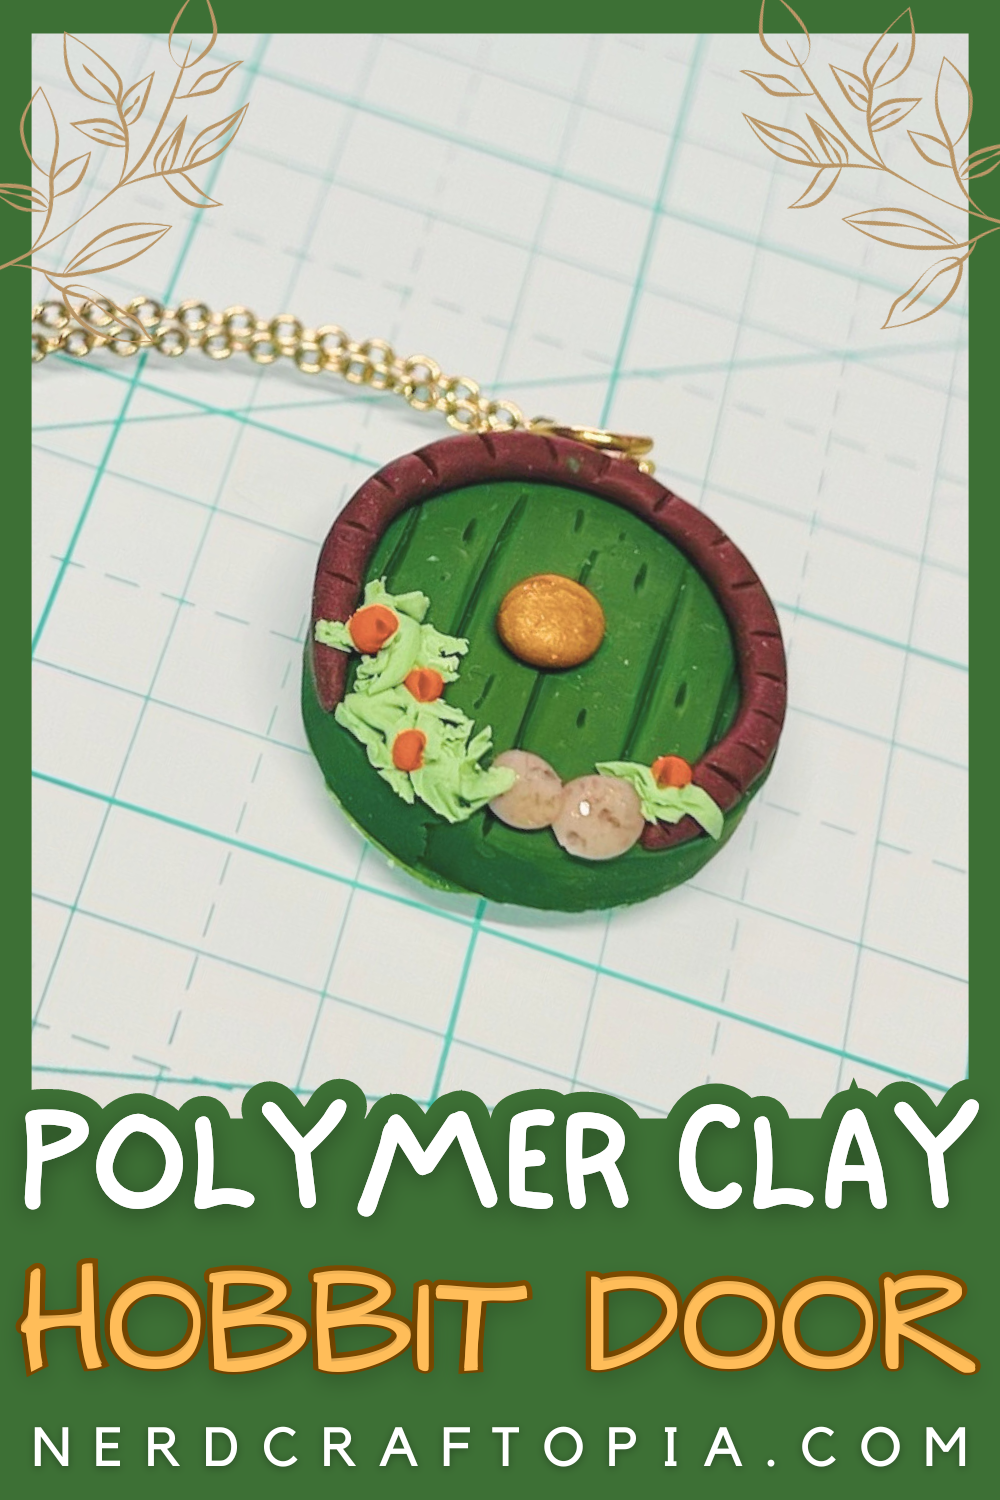
Now you have a beautiful, hobbit-inspired jewelry piece that everyone will adore!
You can customize your DIY hobbit door even further by adding mushrooms, flowers, or anything else you’d like! Make these easy hobbit doors into earrings by using smaller round cutters. The possibilities are endless!
Happy Hobbit crafting!

Pin This Lord of the Rings Craft Idea for Later!