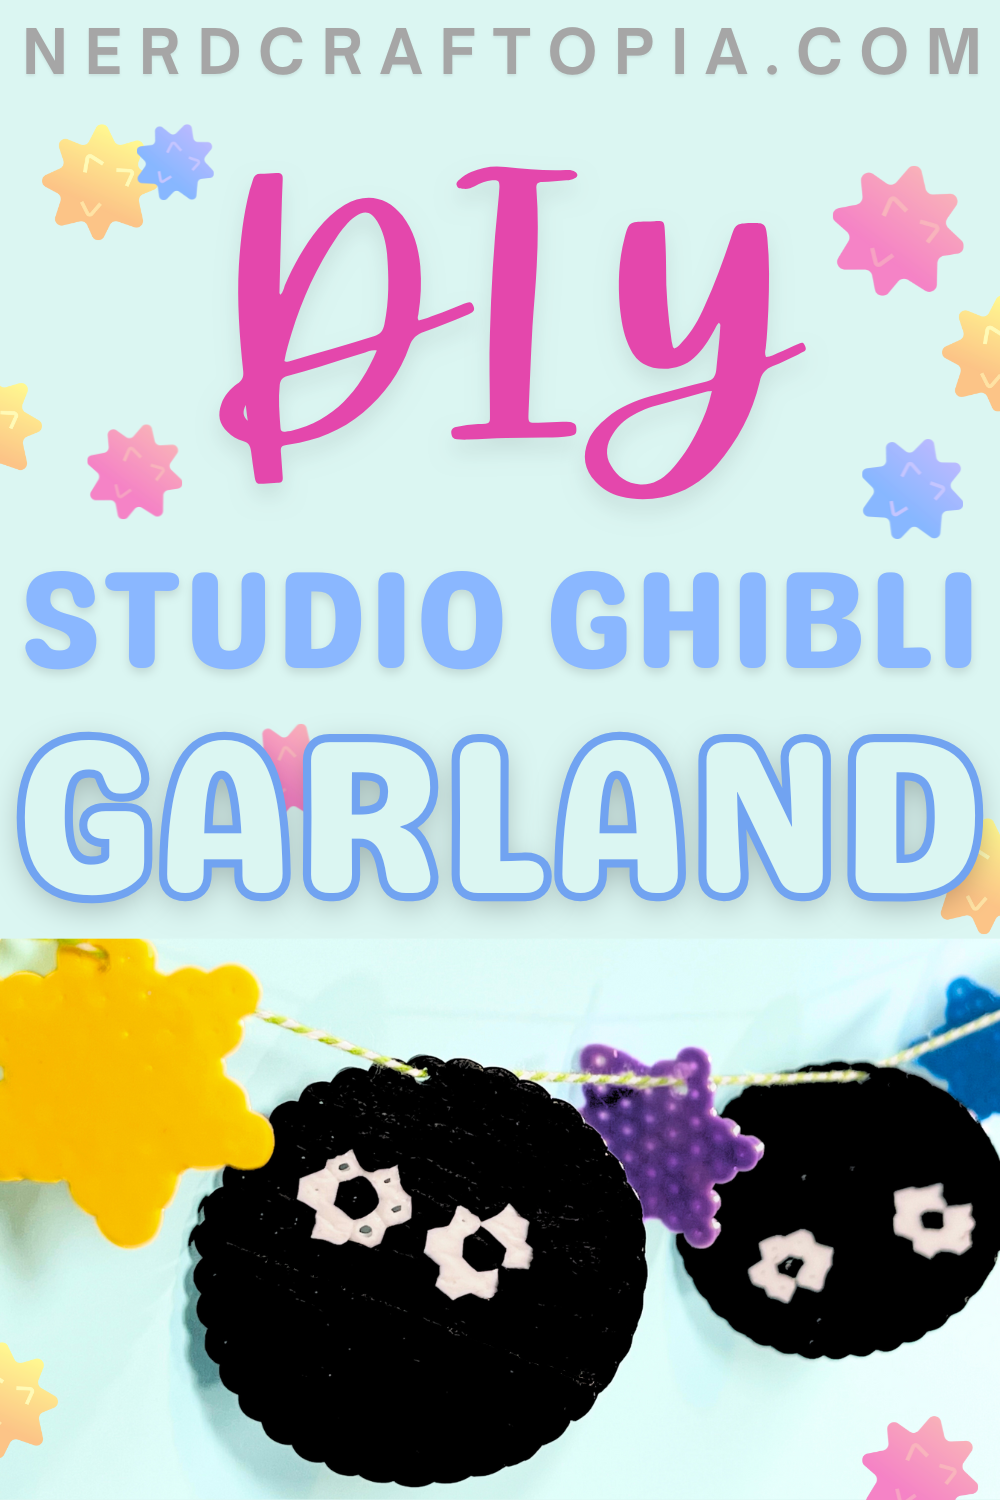
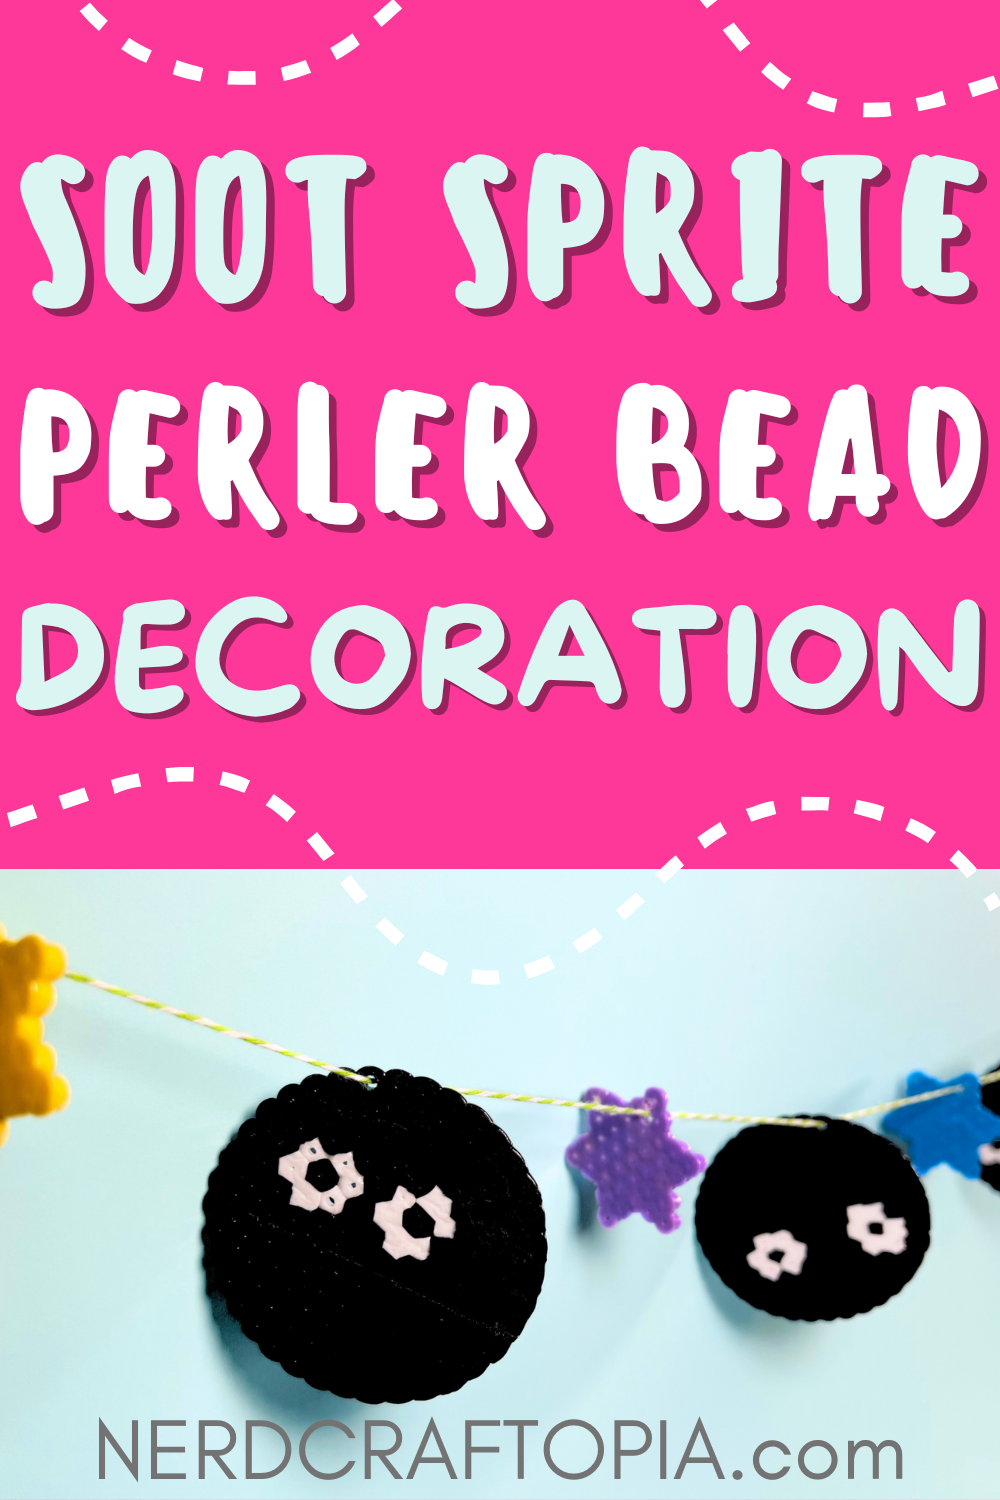
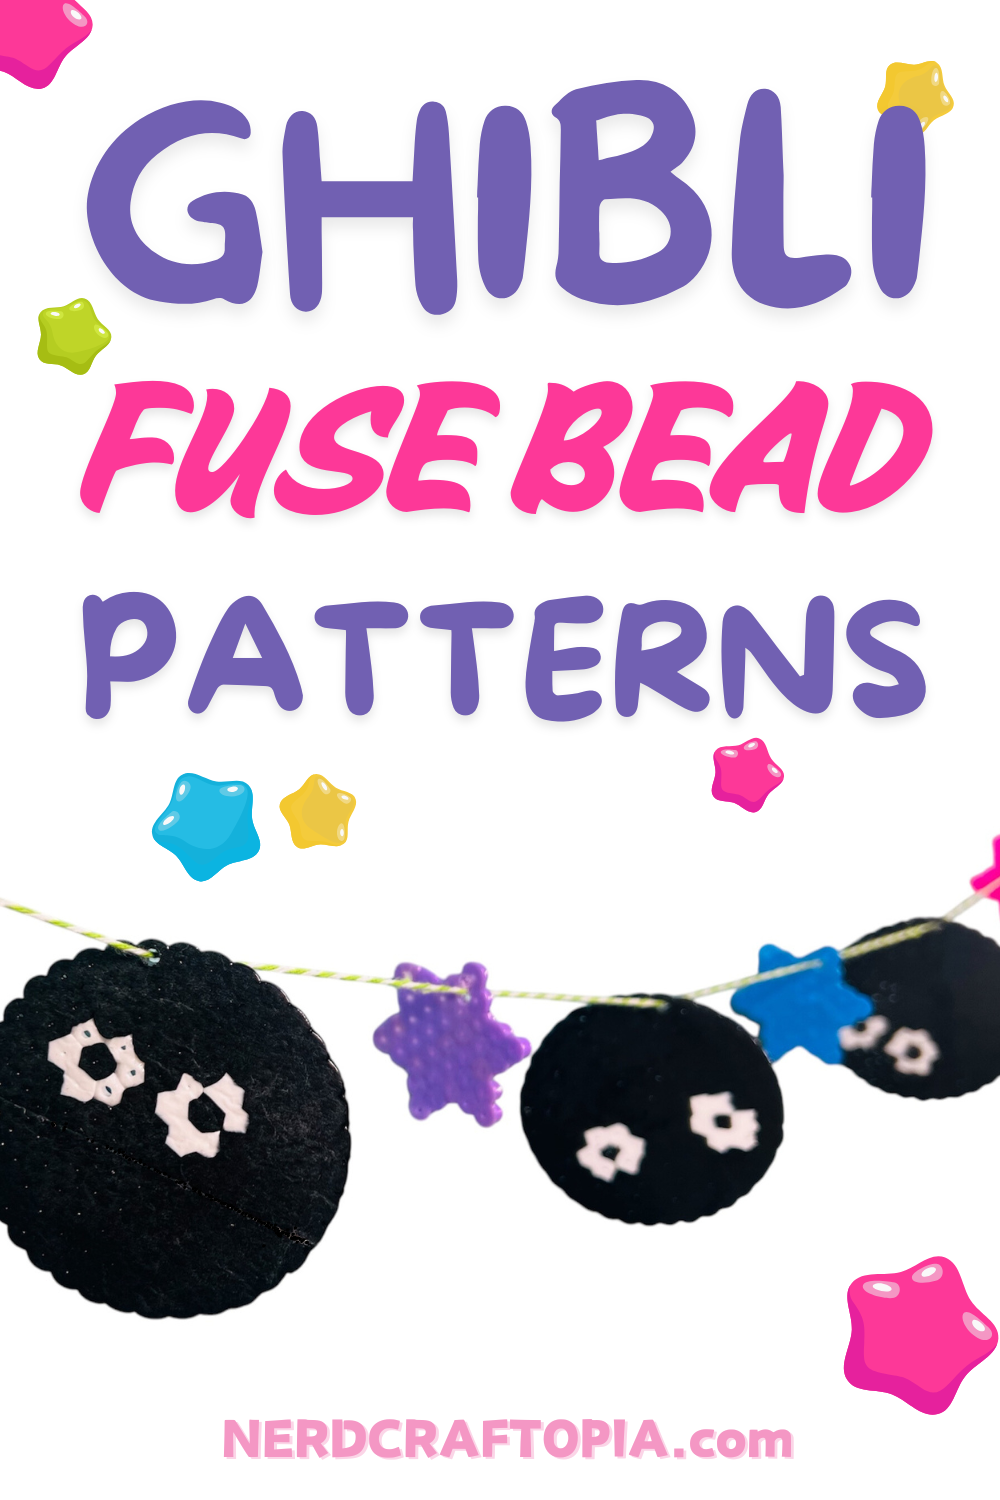
Learn how to create a Studio Ghibli-inspired Perler Bead Garland with our step-by-step DIY guide. This cute Ghibli Craft is perfect for fans of Totoro, Spirited Away, and more!
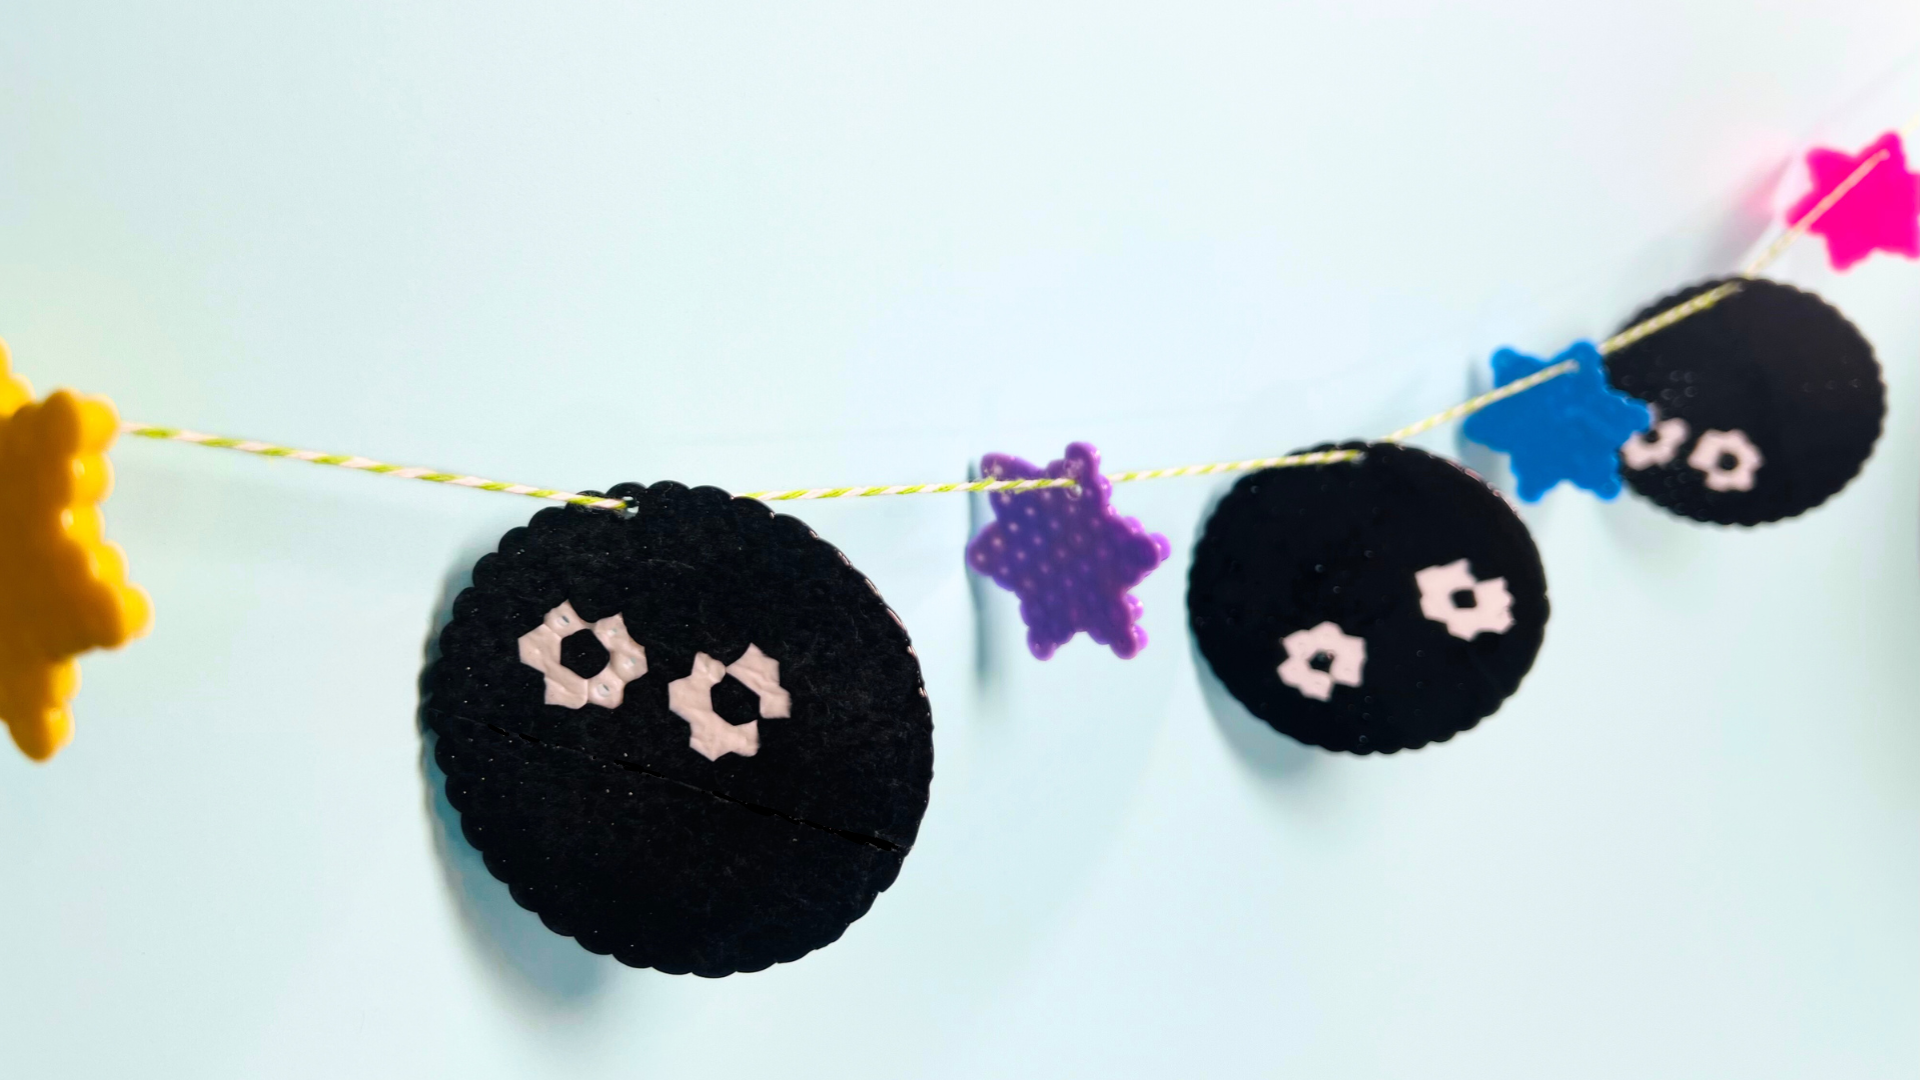
If you’re anything like me, your love for Studio Ghibli knows no bounds, and the adorable Soot Sprites (a.k.a. Susuwatari) have a permanent spot in your heart. These mischievous little dust bunnies from My Neighbor Totoro and Spirited Away are not only iconic but also ridiculously cute.
Today, I’m sharing a fun and geeky DIY project to bring a bit of that Ghibli magic into your home: a Soot Sprite Perler Bead Garland! Perfect for decorating your craft room, a cozy nook, or even your next themed movie night, this garland is simple to make, endlessly customizable, and packed with charm. So, grab your Perler beads, iron, and some string, and let’s get crafting!
Spirited Away Perler Bead Craft
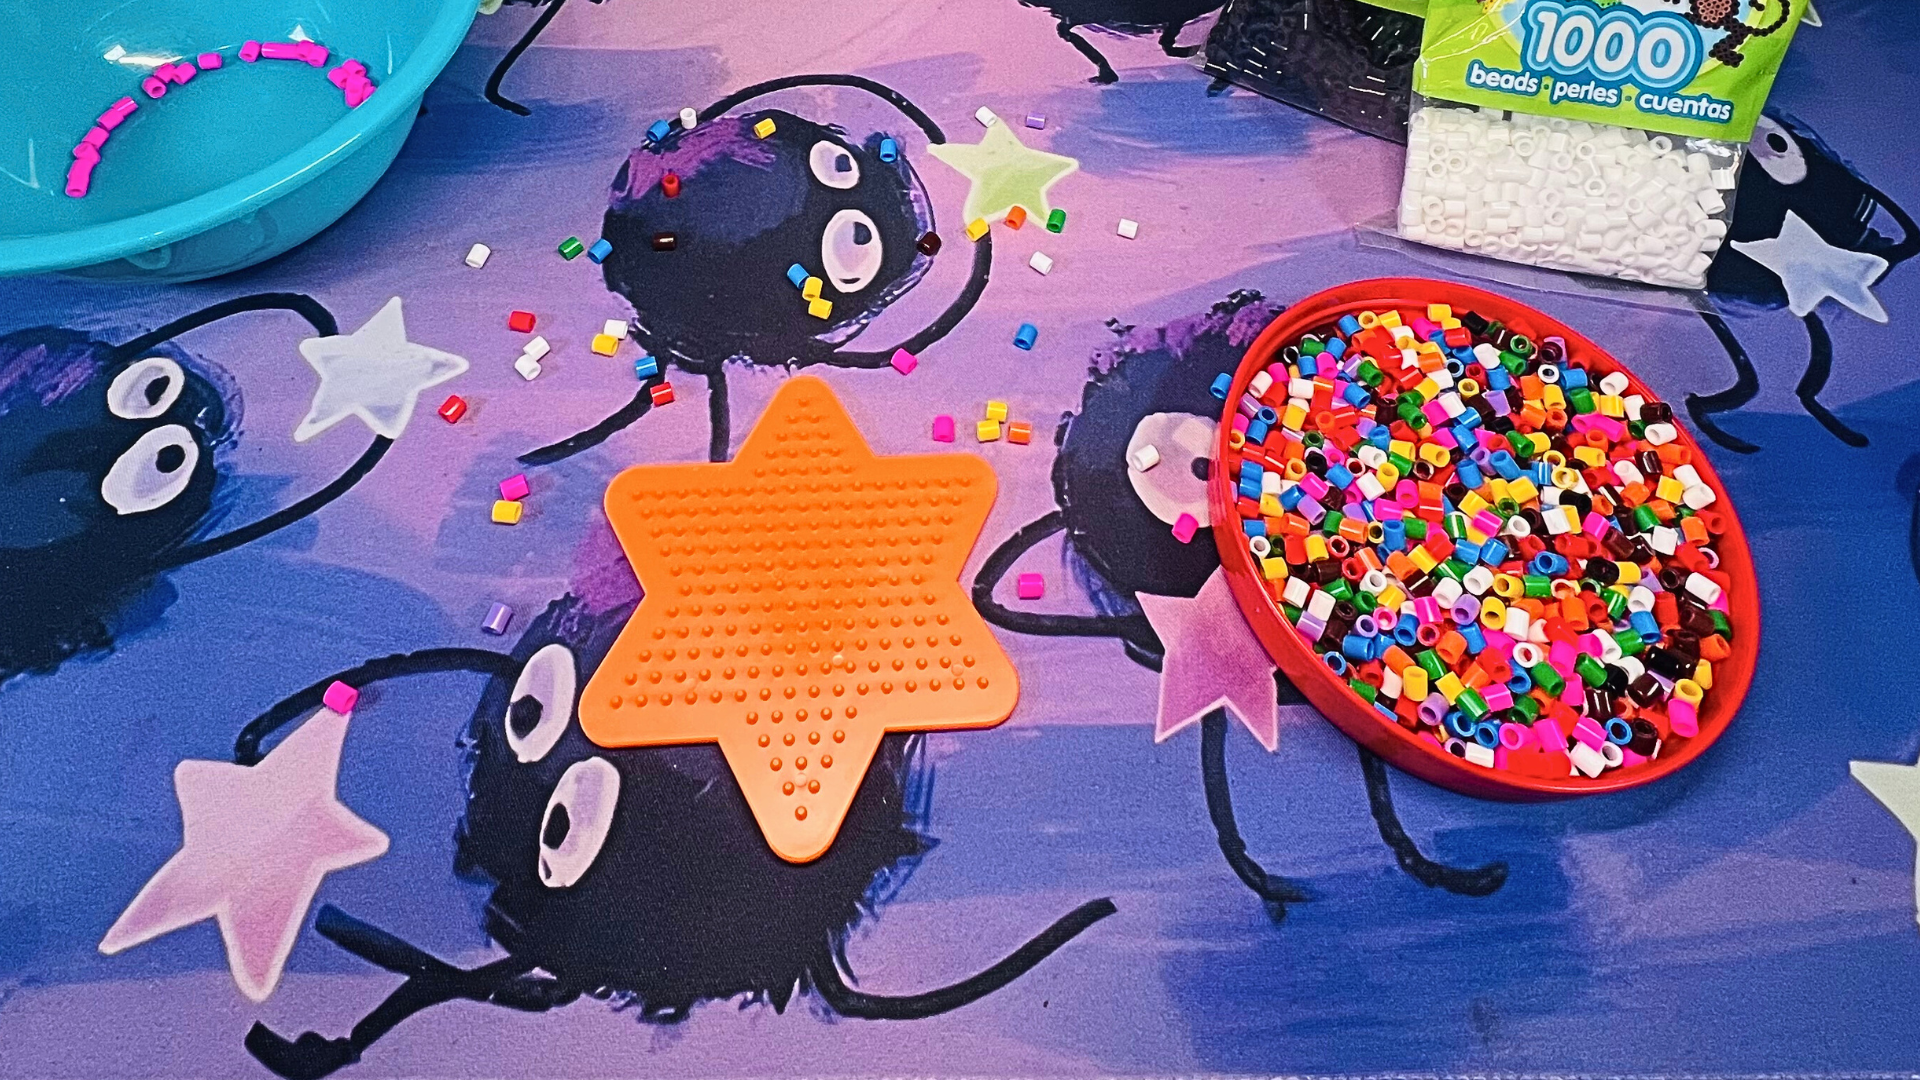
Making this anime-inspired craft is pretty simple and makes a great activity the whole family can get in on! The list of supplies has everything you need to get started.
Supply List
- Black Perler Beads
- White Perler Beads
- Assorted Bead Colors for Candy Star Perler Patterns(I use Yellow, Pink, Purple and Blue)
- Star Shaped Pegboard
- Circular Pegboard
- Tweezers
- Iron or Heatpress
- Parchment Paper
- String
- Small tool for poking holes – ie. Single Hole Punch, Small Drill (I use a small hand drill)
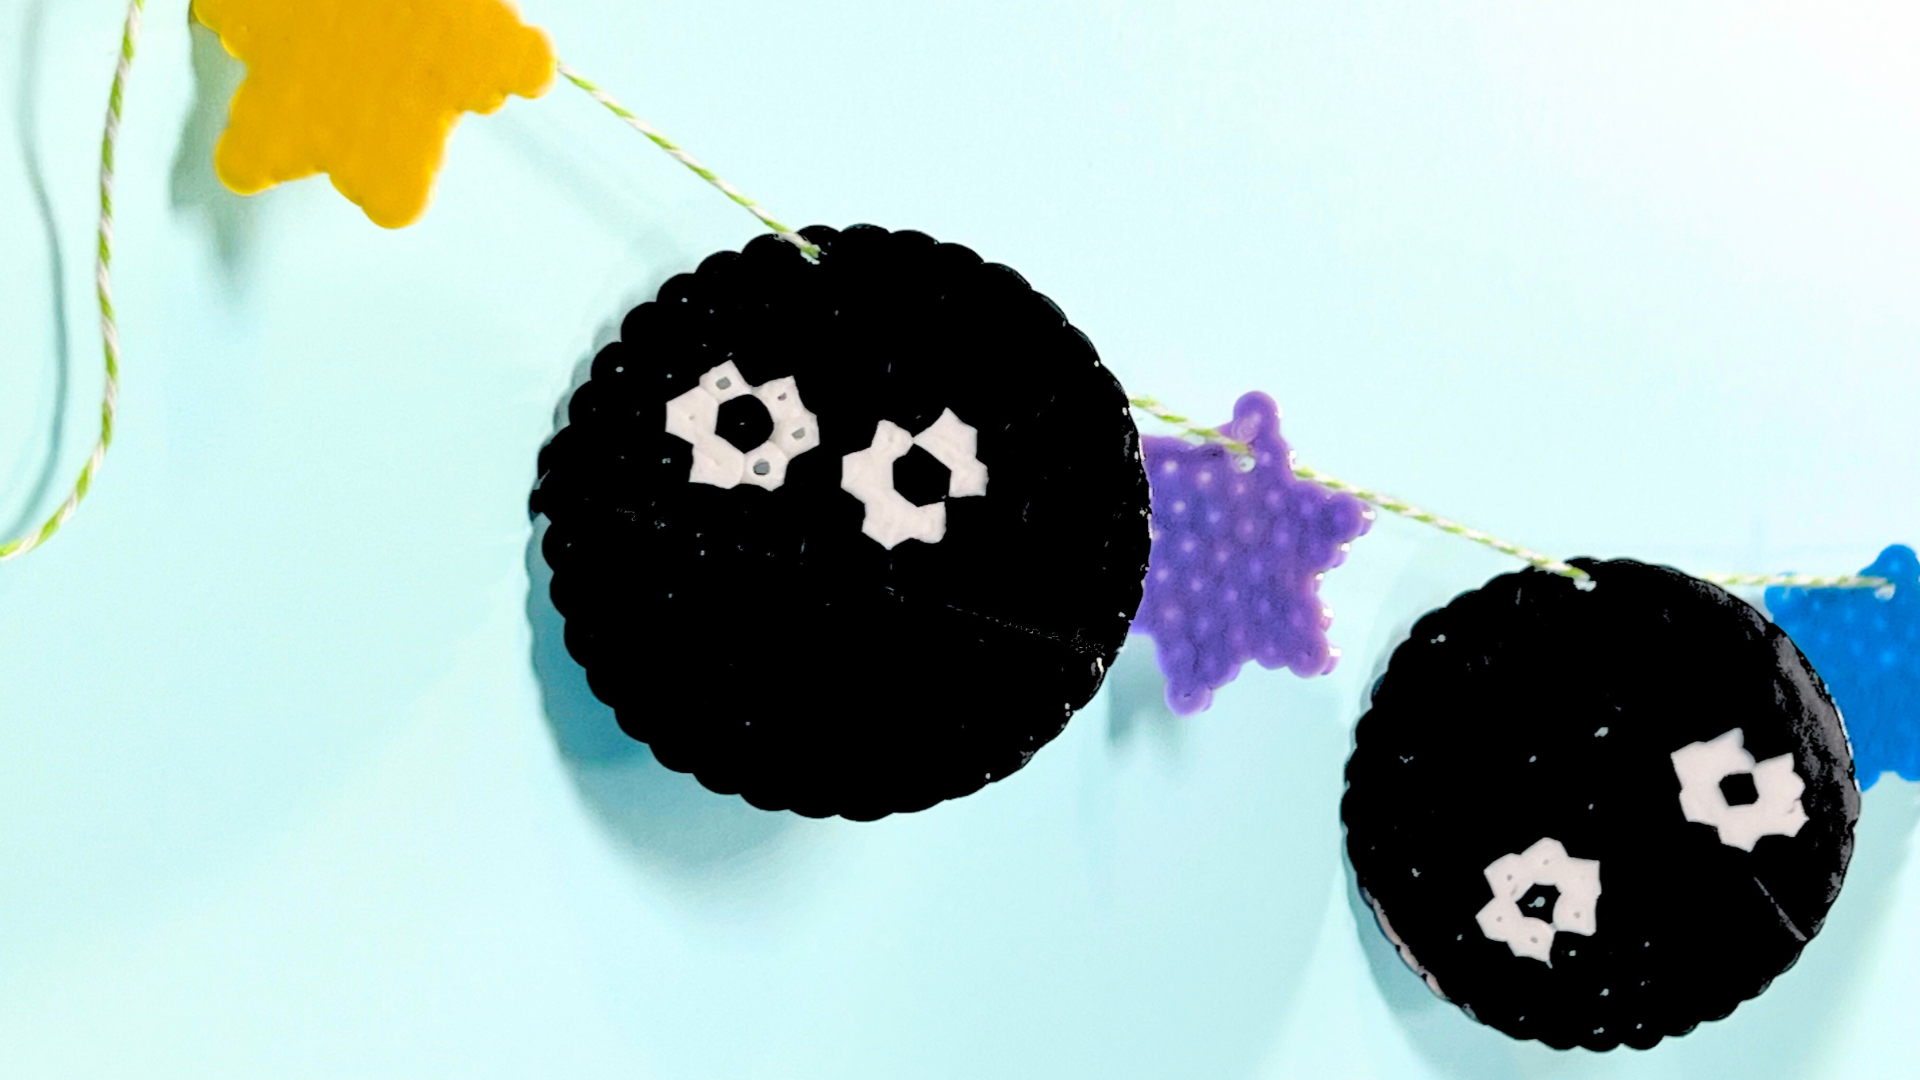
How To Make Studio Ghibli DIY Decorations:
For this cute anime craft idea you’ll need both a star-shaped perler pegboard AND a circular bead pegboard, you can get them here!
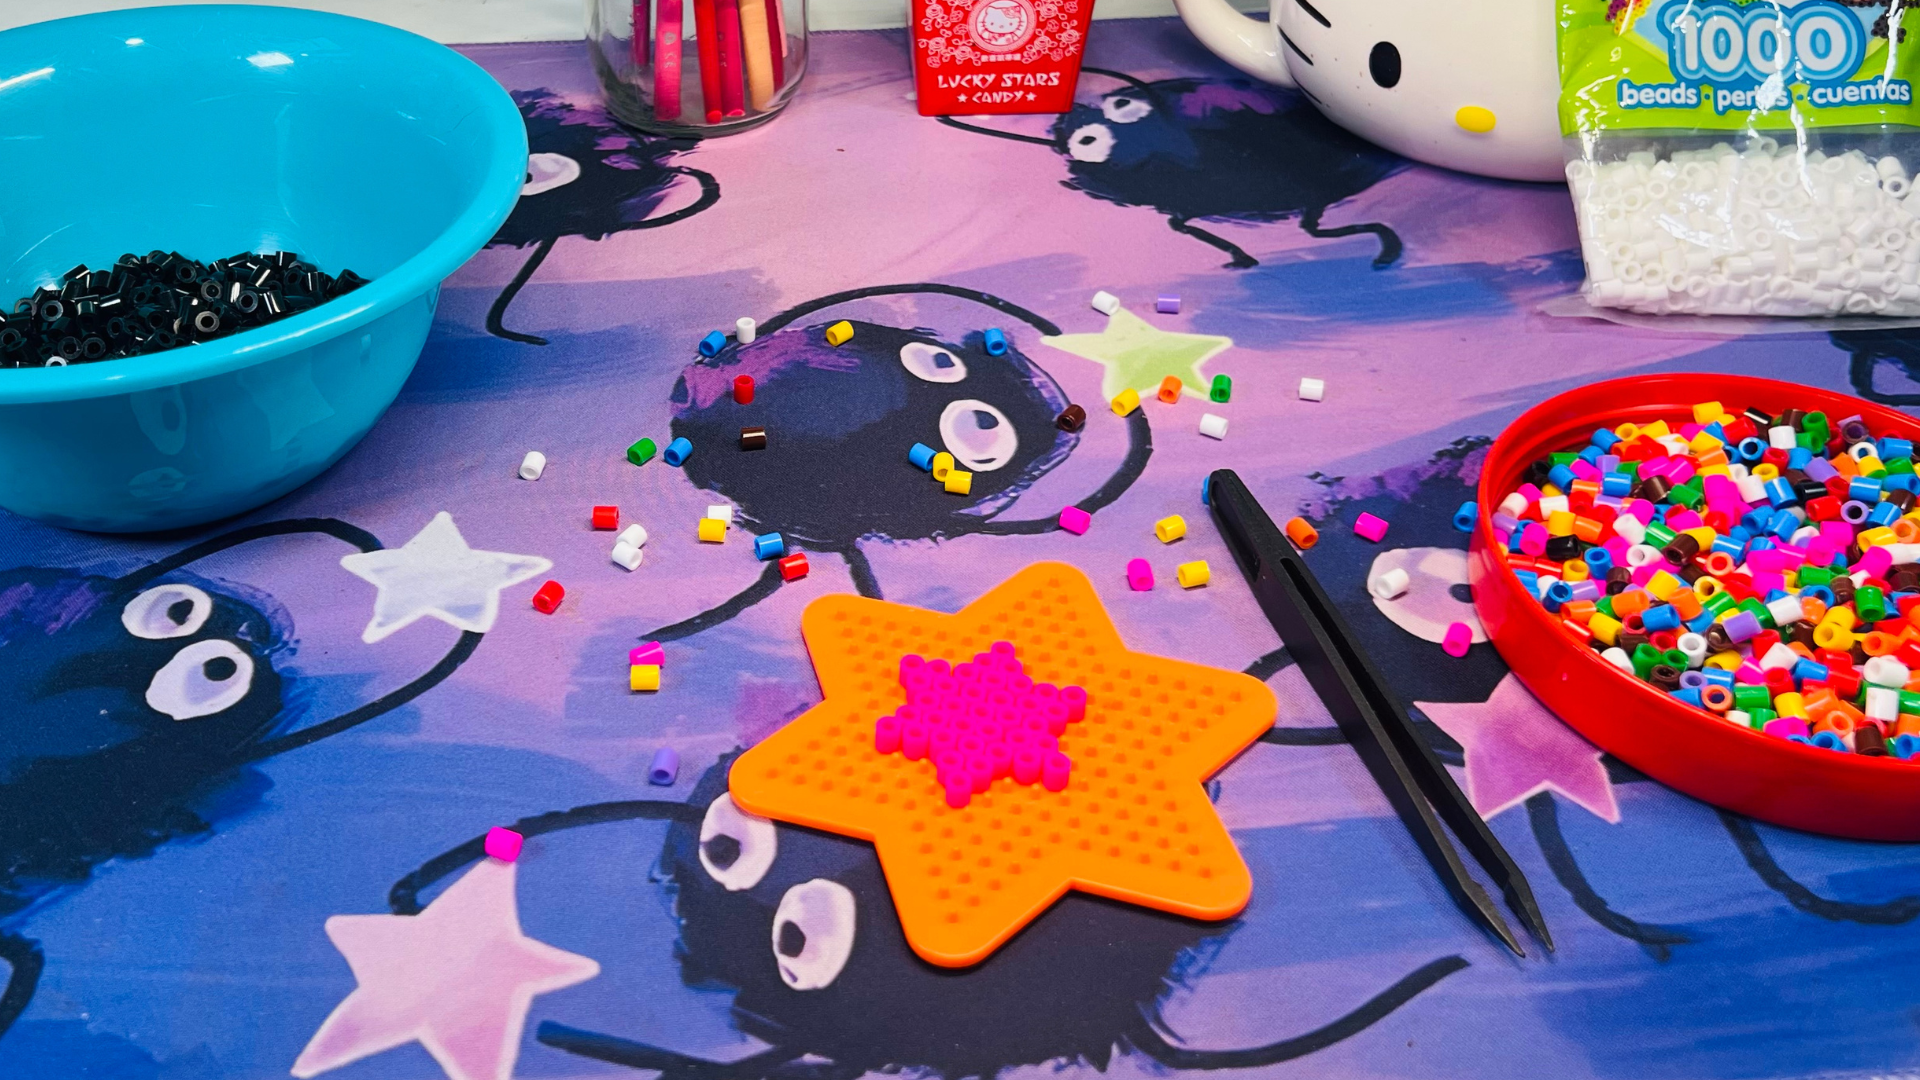
First, I started by making the individual candy star shapes. They’re super simple! This step is a perfect opportunity to let the kiddos join in and create their favorite colors of these fun star shapes.
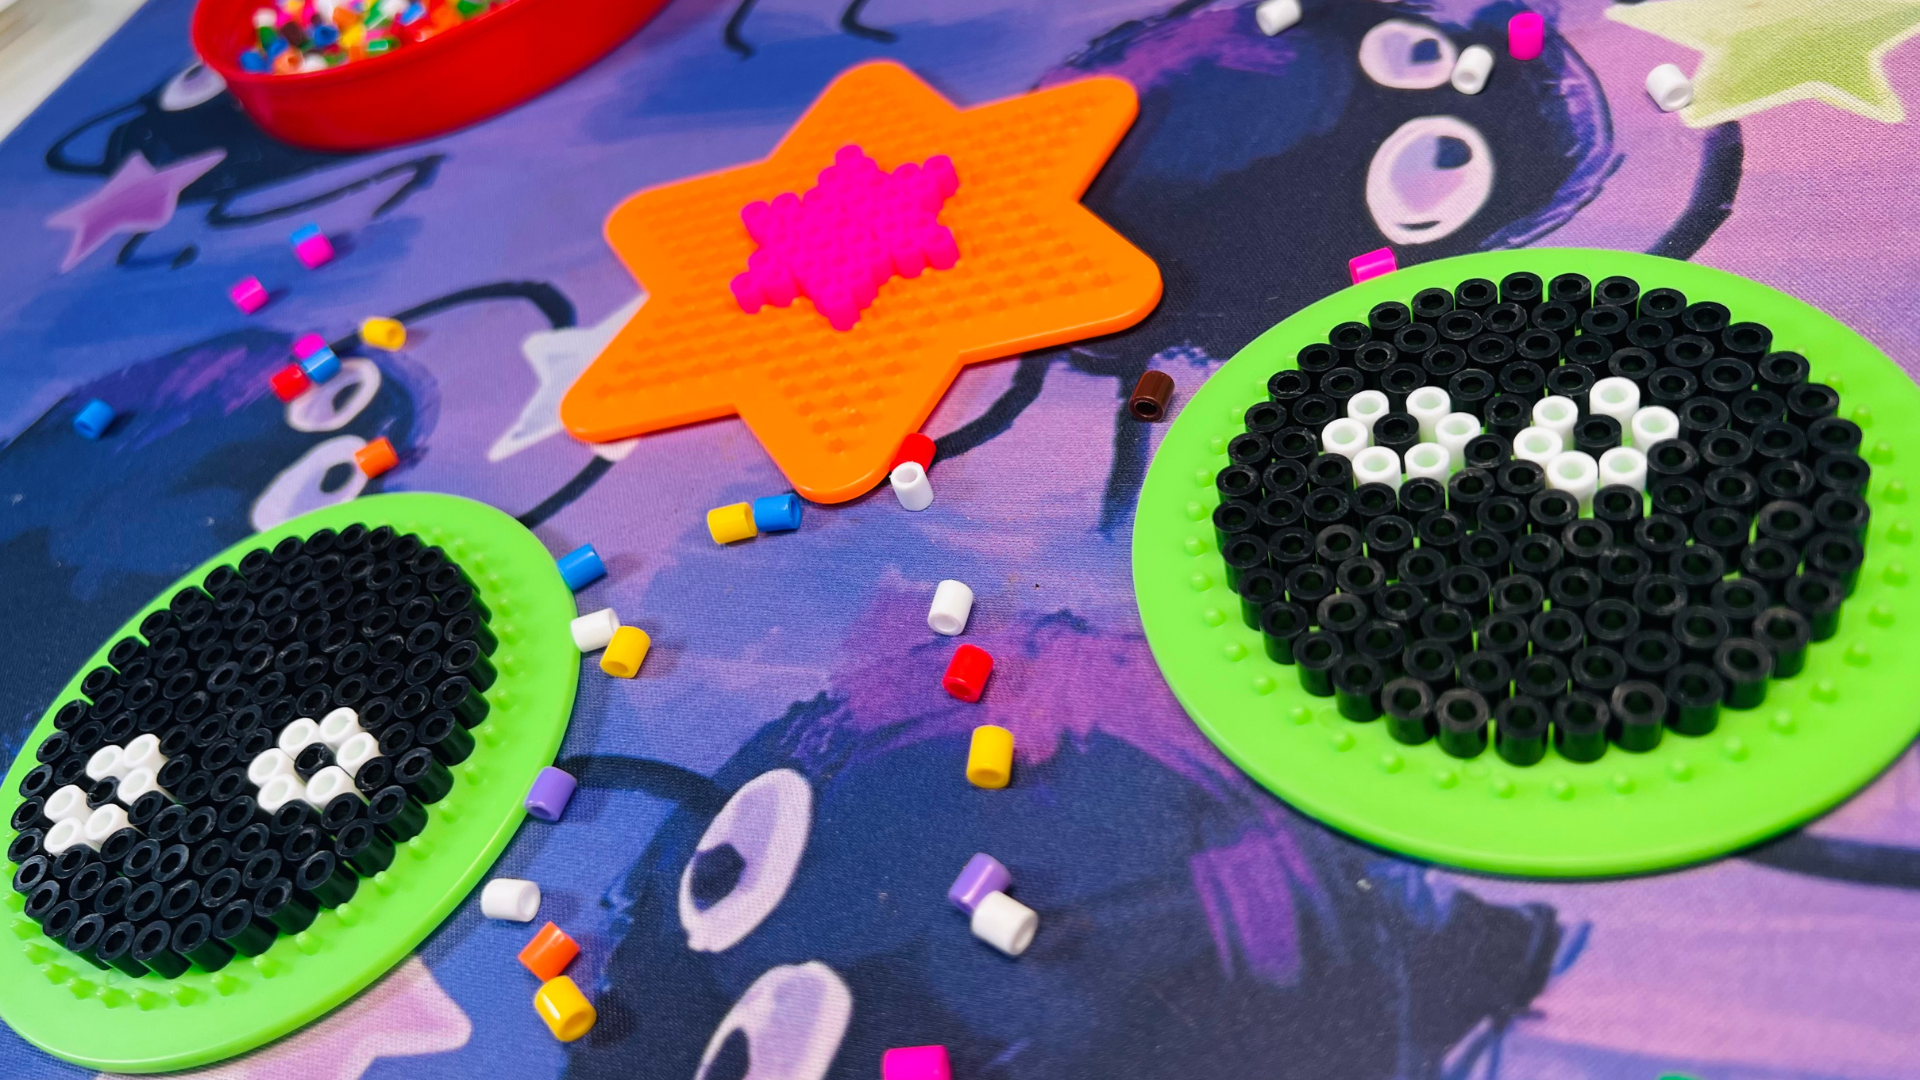
Use your circular pegboards to create the adorable Soot Sprite creatures. Place the eyes however you desire, changing up where the eyes sit makes each one unique and really completes the whimsical look.
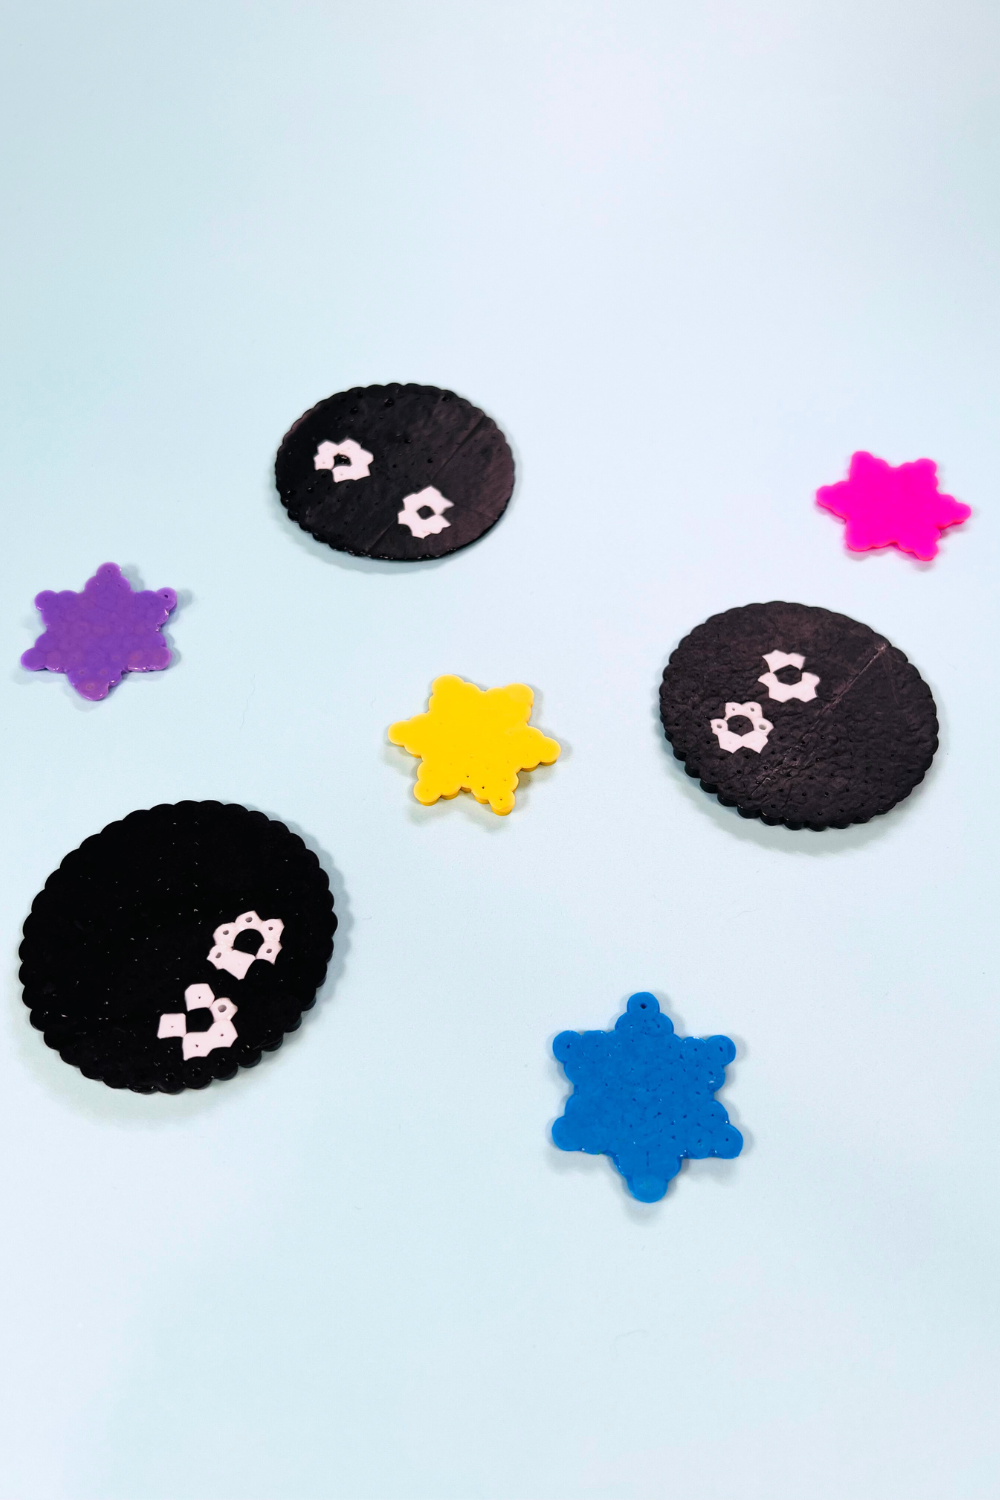
Once you have all of your pieces made iron them out. Use a hole punch or a small drill to punch holes in each piece. If you need help ironing your perler project, check out this awesome tutorial from Perler.
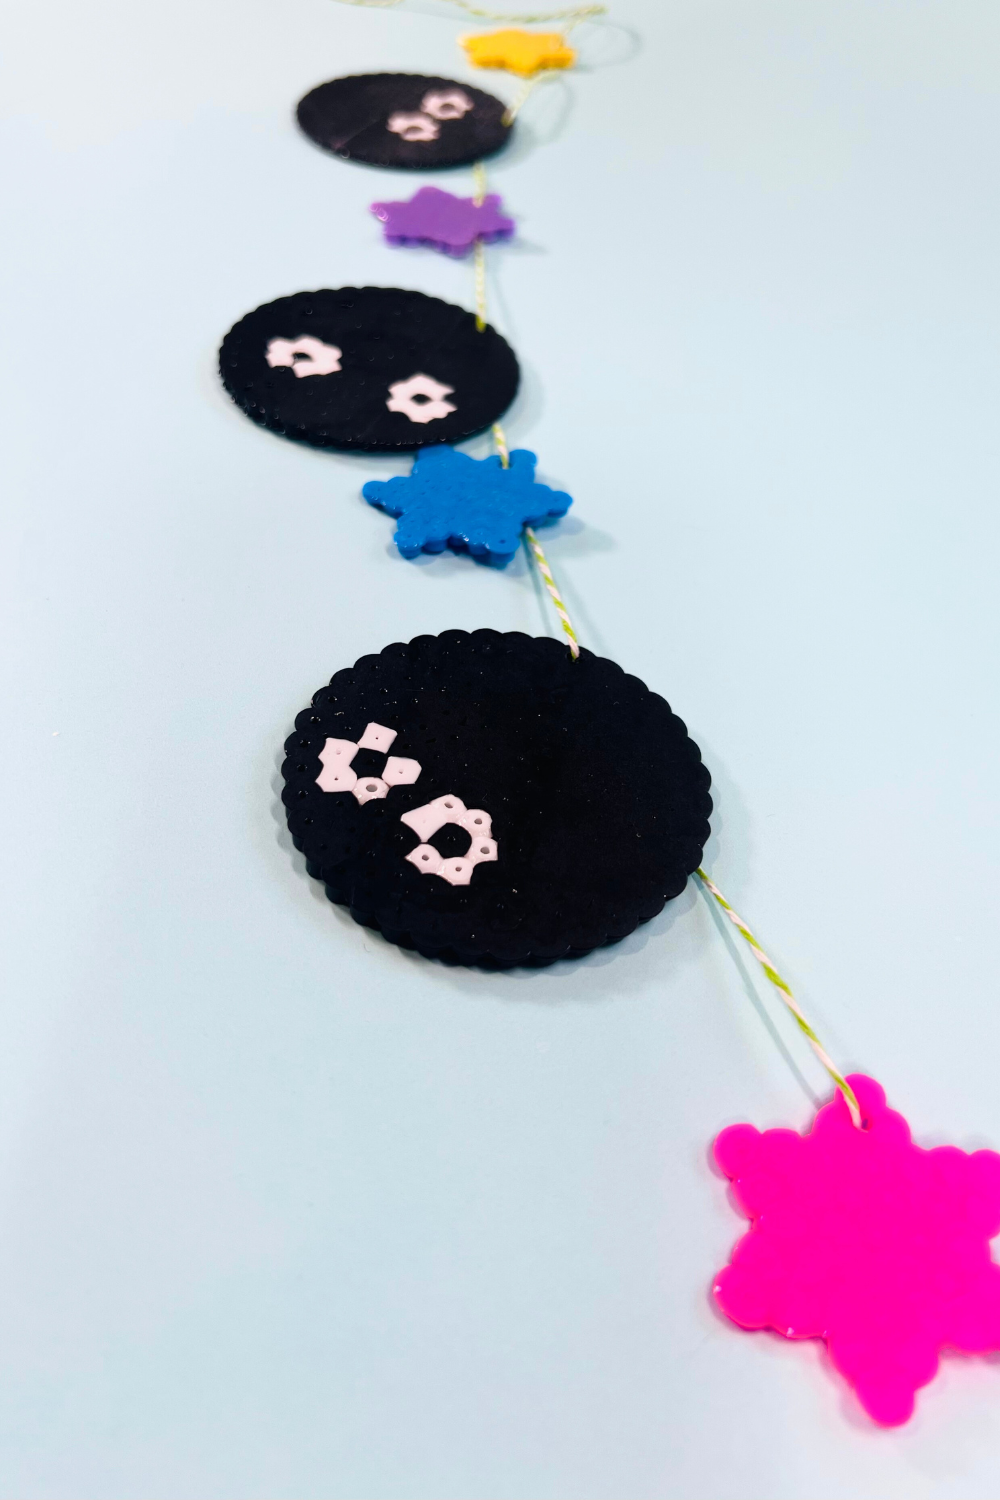
Grab your favorite string or twine and lace it between the holes of each Perler creation. Tie a loop on each end of your string and allow for a little bit of slack so your Garland can hang naturally.
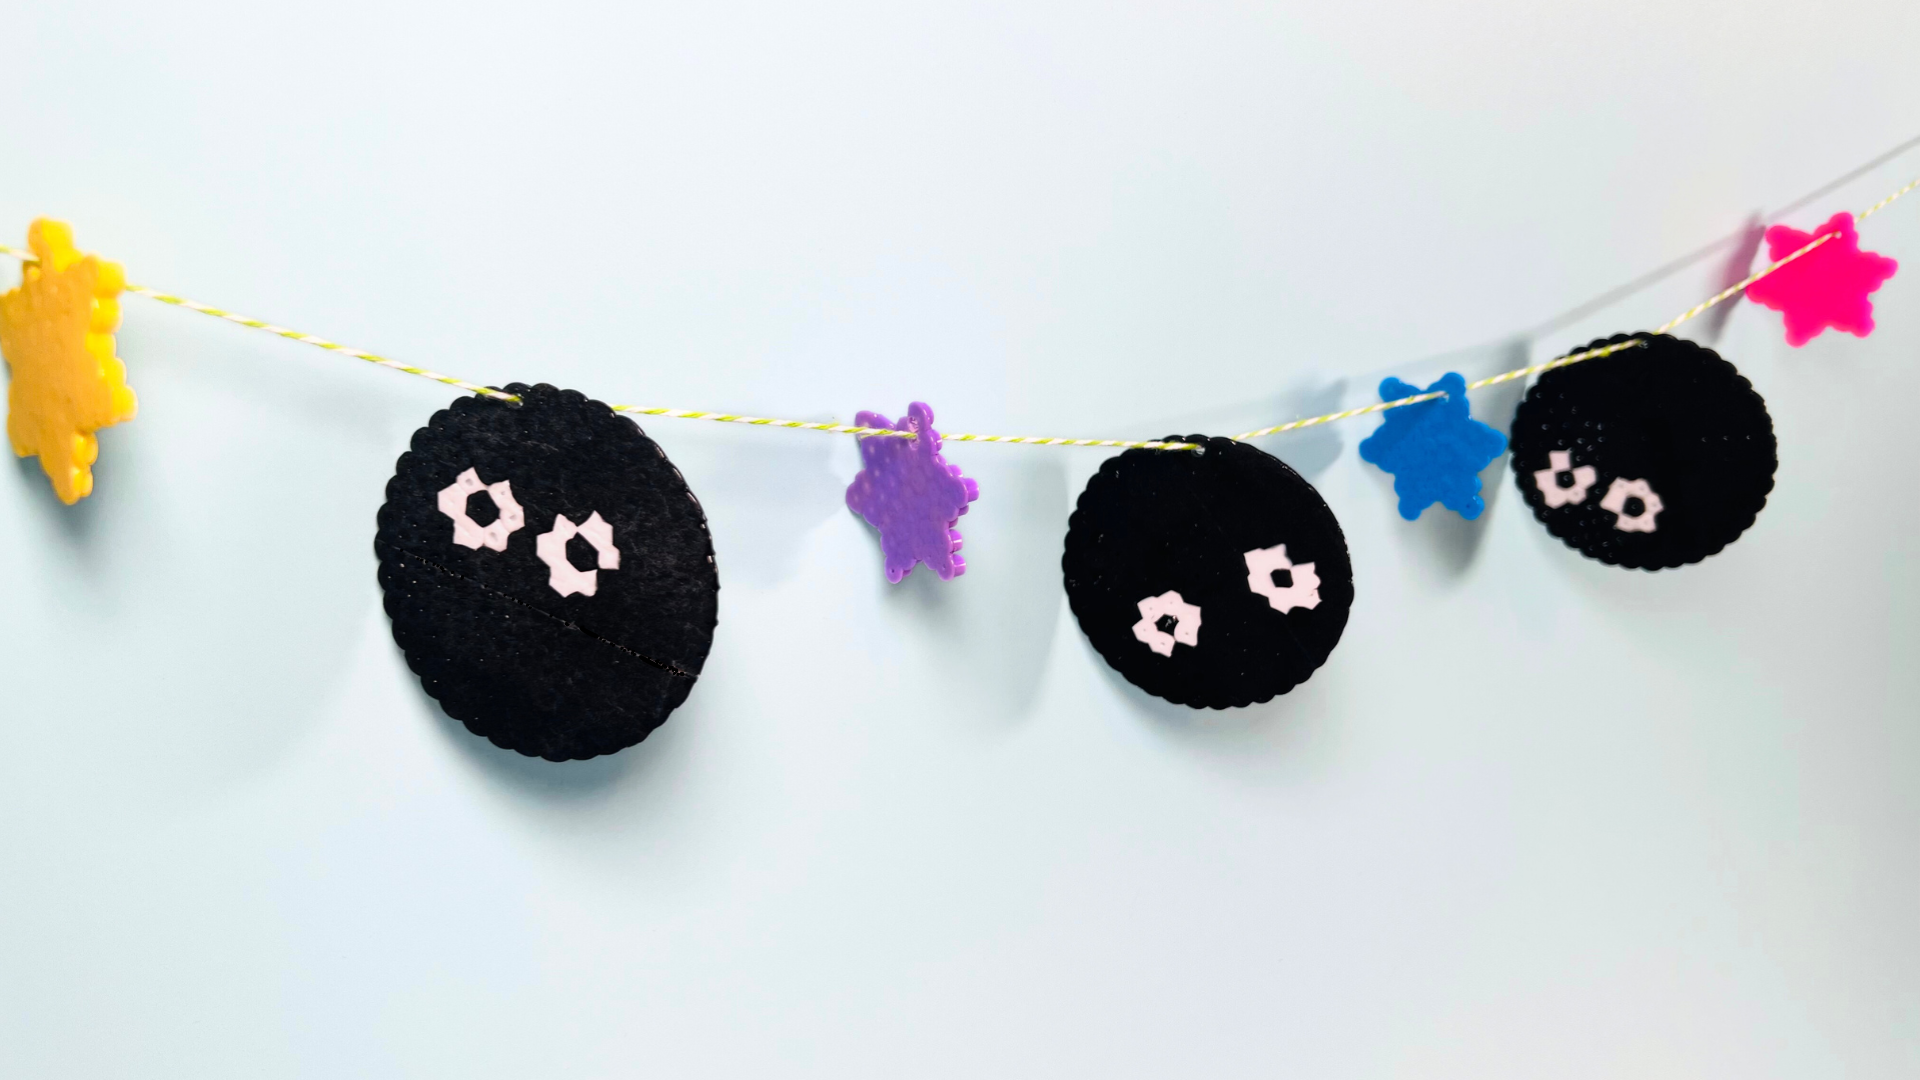
Now, all that’s left to do is hang it up and admire your work! (✯ᴗ✯)
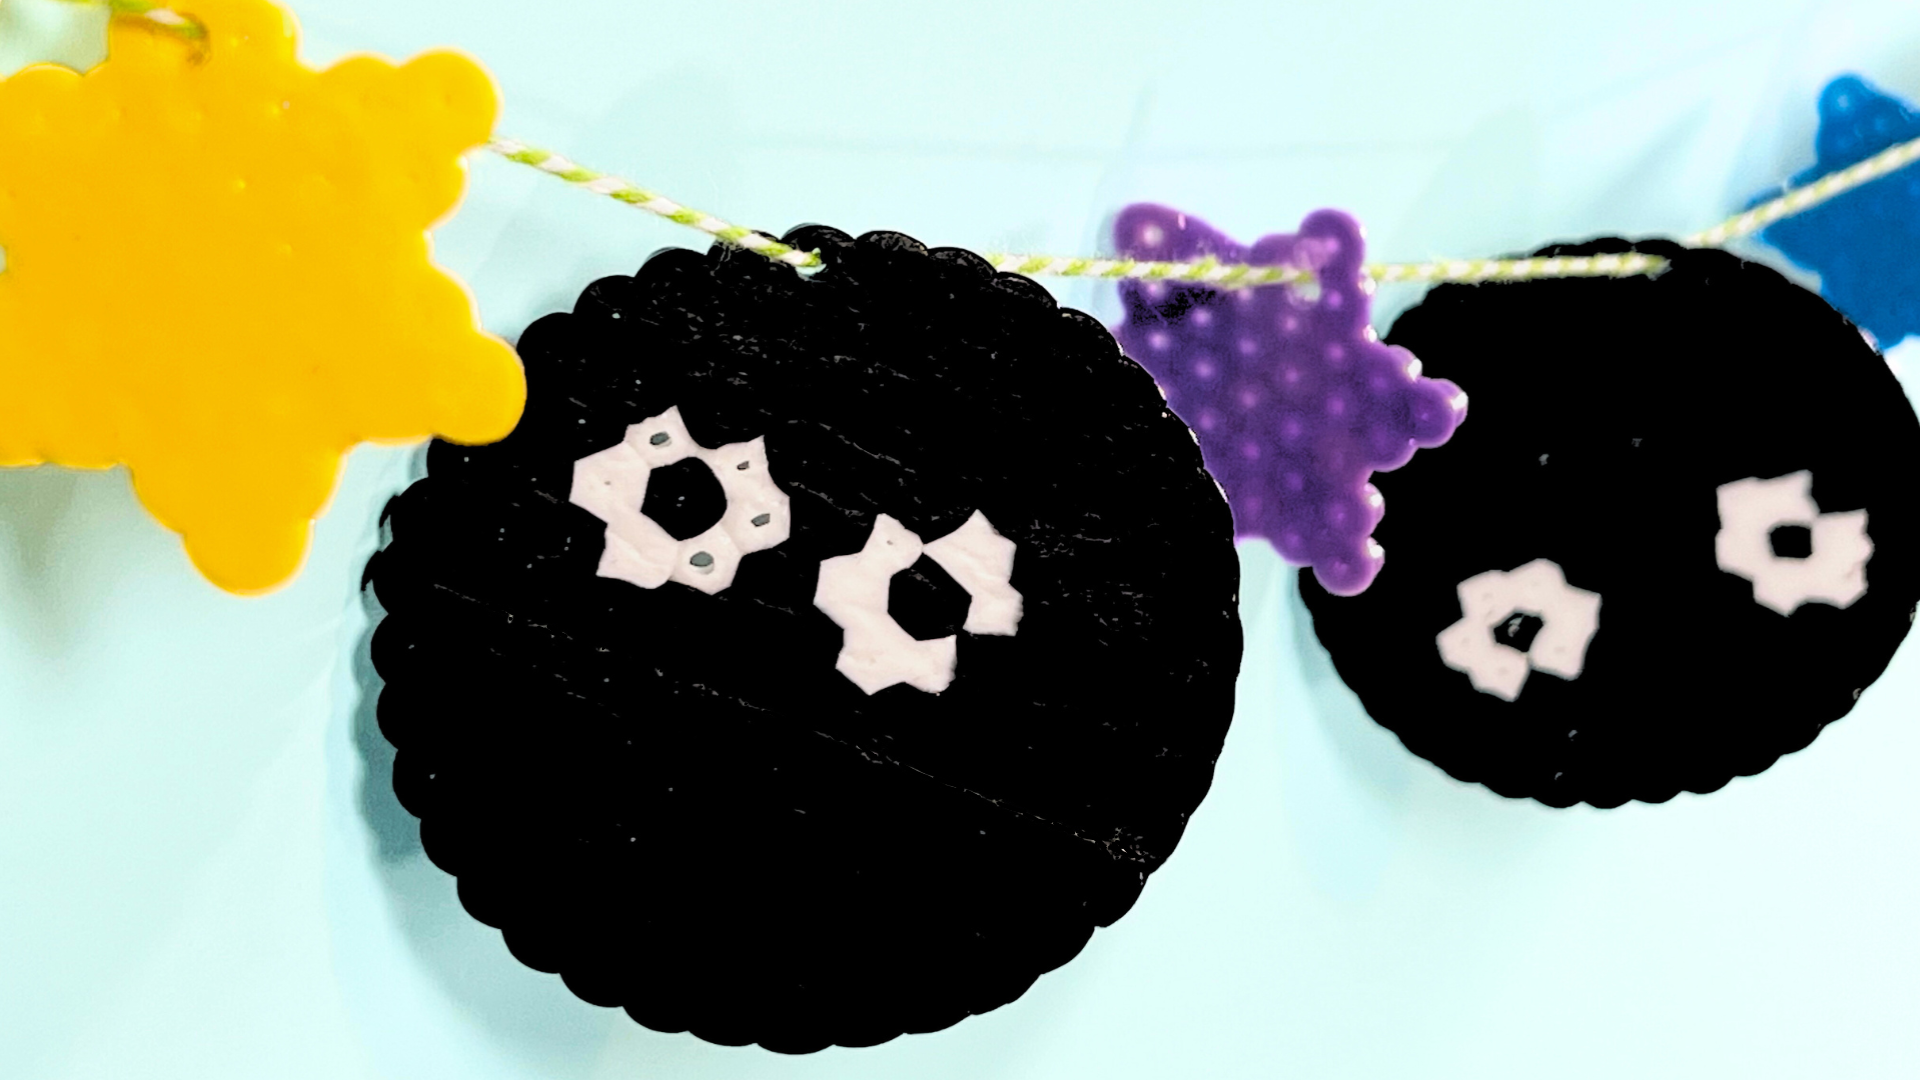
Aren’t they just SO cute?! They won’t lay perfectly flat, so they would be best hung off of a shelf or mantle. If you’d rather them lay flat against a wall when hung up, simply cut off some excess string and tie a small piece of string from the Perler piece to the long string you’re going to use for hanging. Voila!
These bold and colorful perler bead projects make great Studio Ghibli party decor or even a fun craft for displaying at your work desk! You can find even MORE DIY anime home decor and creative perler bead Ghibli ideas in our post, 40 + Studio Ghibli Crafts. Thanks for reading and happy beading! 💜

Don’t Forget To Pin This Ghibli Perler Beads DIY Project For Later!
